Do you look at your photos wondering how to make them sharper and crispier? If you think you need a “better” camera and lens before you spend a bunch of money, I want you to troubleshoot a few other things first.
We talked about the topics of focus and shutter speed in the last post which are a great place to start if your photos aren’t coming out sharp.
The next concept to tackle after that is lighting.
Lighting is Key
Lighting is a huge contributor to the perceived sharpness and clarity in a photo.
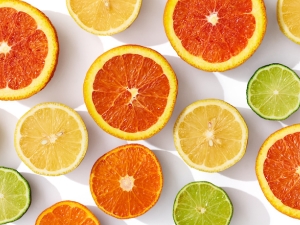
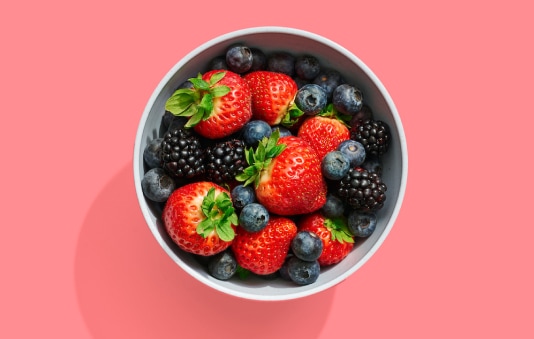
Don’t believe me? Check out these two photos.


One was captured with my full frame, mirrorless Nikon Z7 with a 24-70mm f2.8 S lens (about $5500 worth of equipment total). The other photo was captured with the Canon Rebel t2i with the 18-55mm kit lens that came with the camera (which I purchased for about $200 used).
Can you tell the difference? Do you know which is which?
Maybe if you really got in there and did some pixel peeping you could spot a difference. But, at a glance they both are sharp, crisp and look equally great especially when presented on social media platforms and websites that compress them.
What is the lighting secret?
Instead of telling you, I’d like to show you.
Create Clean Lighting
My goal is always to create a “clean” lighting scenario. Embrace the idea that less is more in terms of lights entering your scene.
What do I mean by “clean” lighting? Think of it like pruning a tree, cutting off dead branches to help bolster overall strength and increase the productivity of flowering.
For example, you can see here I have one artificial light set up and illuminating my scene. I also have the overhead room lights on and there is a window nearby with natural light streaming in.
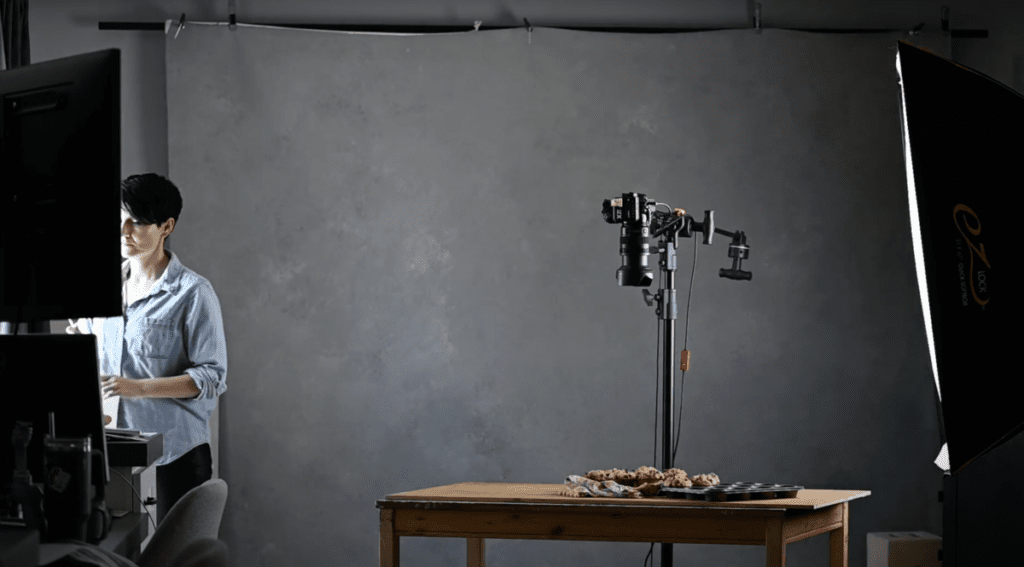
If I take a test shot of this scene we can see multiple shadows are cast and there’s a muddiness in the image.

This is a moment when simplifying the lighting will help to elevate the quality of the image. Let me show you.
First, let’s turn off the overhead room lights and take another photo.
Now we can see that eliminated one of the additional shadows and too, the color looks more true to life and vibrant.


Why? Because the overhead lights in the room are a warmer color temperature compared to the light coming from the window and from my artificial light.
All lights have a different color temperature ranging from blue to orange, with white daylight being right in the middle. The artificial light I’m using here has the same color temperature as daylight, so by removing the overhead lights that have a warmer color temperature I’m cleaning up the color of light in the scene. This is improving the quality of color in the final image.
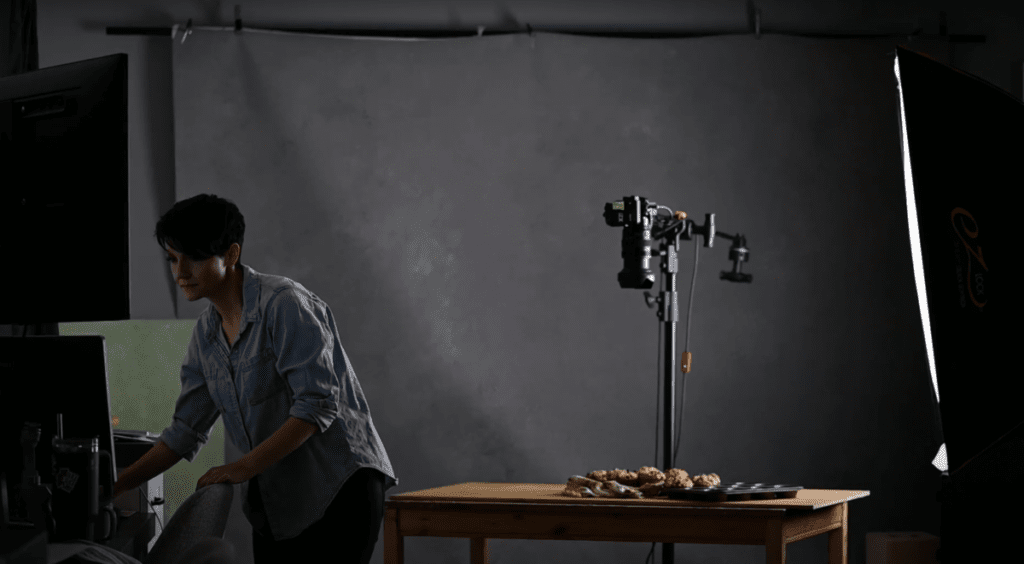
Next, let’s cover the window and eliminate the natural light entering our scene, then take another photo.
And now we have even better results with the image feeling more crisp and “clean”. We further “pruned” the lighting by removing an additional source.



Why does that look better? Because now we only have light coming from one direction. This allows depth to be more effectively interpreted by the brain.
Creating 3D Quality in Your Photos with Light and Shadow
How do we know something is three dimensional? We see light sides and shadow sides. Like this cube. If all the sides are the same value in terms of the color grey, it looks flat. But when we add a dark side and a light side and a middle value side, it appears three dimensional even though it’s presented on a screen, a two-dimensional medium.


When you add an extra light to a food photography scene, brightening up the shadow areas, you create a scenario much like the flat cube. All the values are equal so the brain can’t interpret the depth. But, if you simplify and “prune” the lighting to come from one primary direction, you strengthen the effectiveness of the main light. It creates the opportunity for contrast in the image because there are now bright areas and shadow areas, a variety of tones are present like in the three-dimensional cube.
If your lighting is feeling flat or muddy I recommend “pruning” down to one light source. While additional light sources and “fill lights” can help with very dark shadows, I recommend using them intentionally. If you notice your depth disappears, you may want to rethink them.
Flash Creates Clean Lighting with Two Exposures
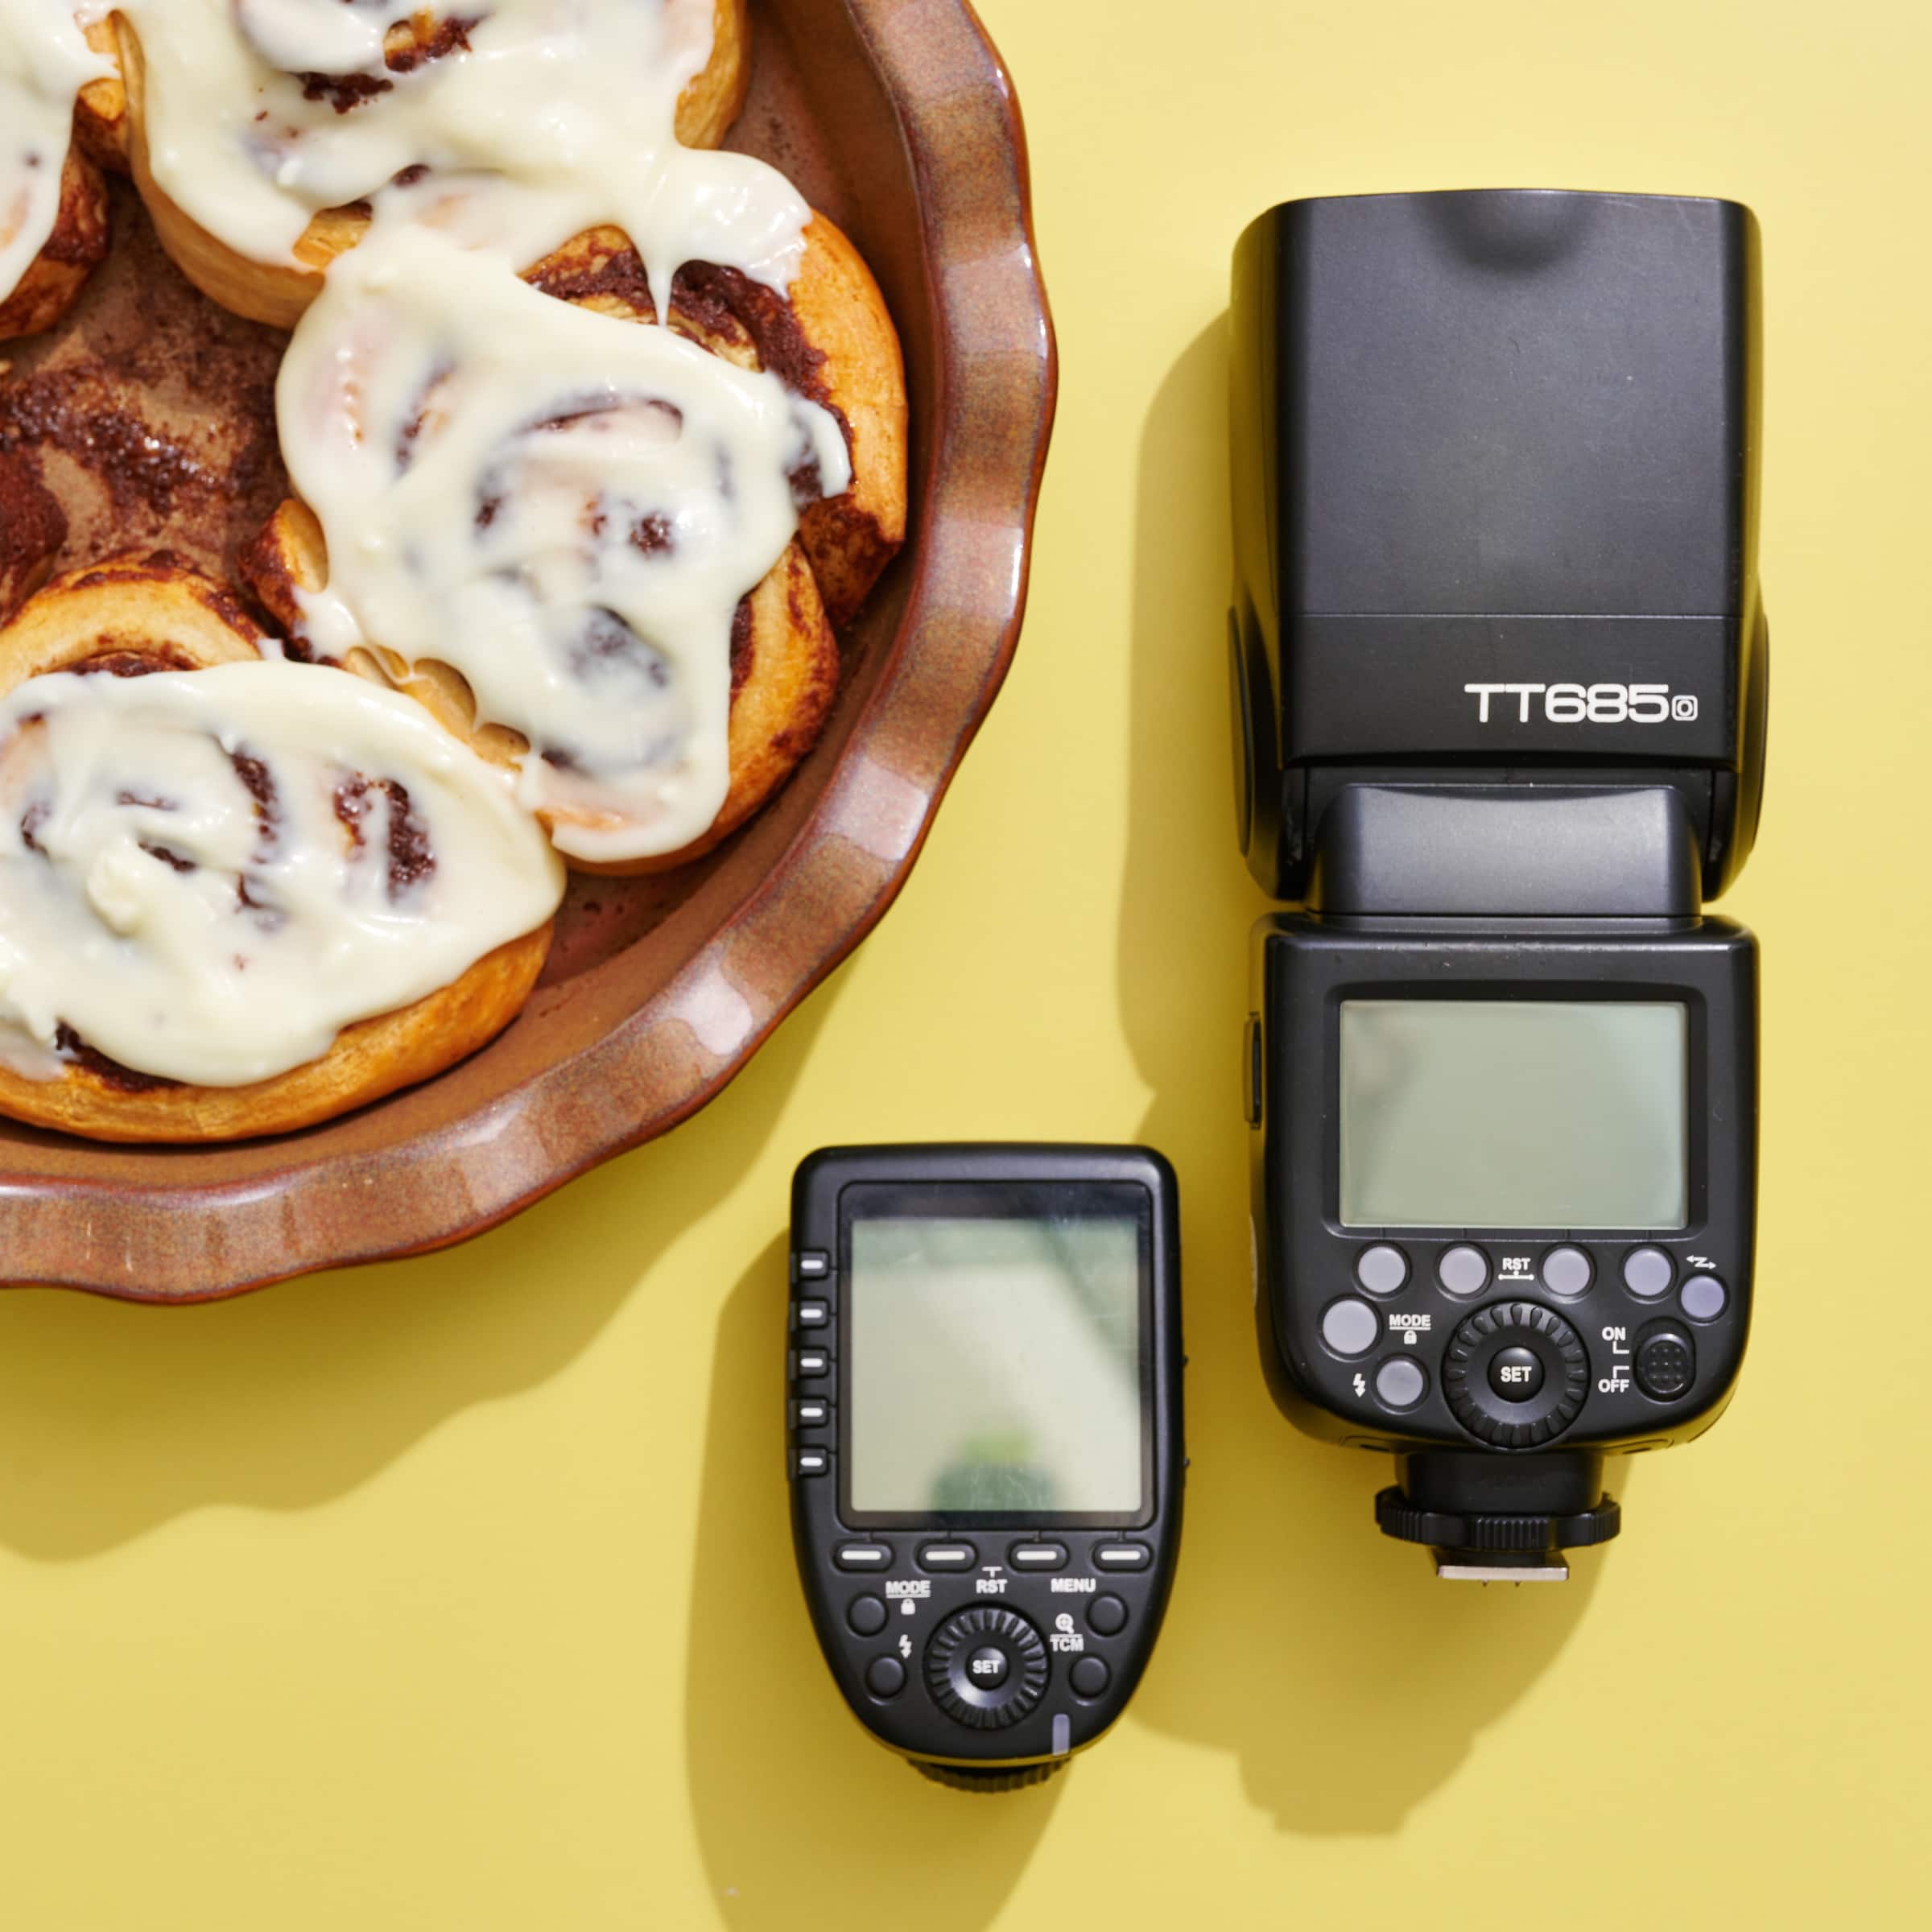
So what if you’re in an environment where you can’t cover the windows or turn off the overheard lights? Then you might want to consider flash.
With flash you have an extra level of control for creating cleaner lighting. Flash gives you the ability to control both the brightness of the flash and any other light sources like window light. This is because flash uses two separate exposures, one for each type of light. If you want, you can eliminate any extra light sources (called ambient light) without turning them off or covering up windows. As a result, you can get clean lighting from the flash only.
When I go to a restaurant, I always bring flash because I can completely black out all of the orange overhead lights with my camera settings. This is also referred to as “cancelling out the ambient light”. And then I use my flash to light the scene with crisp, clean light like I did in this image captured in a restaurant.


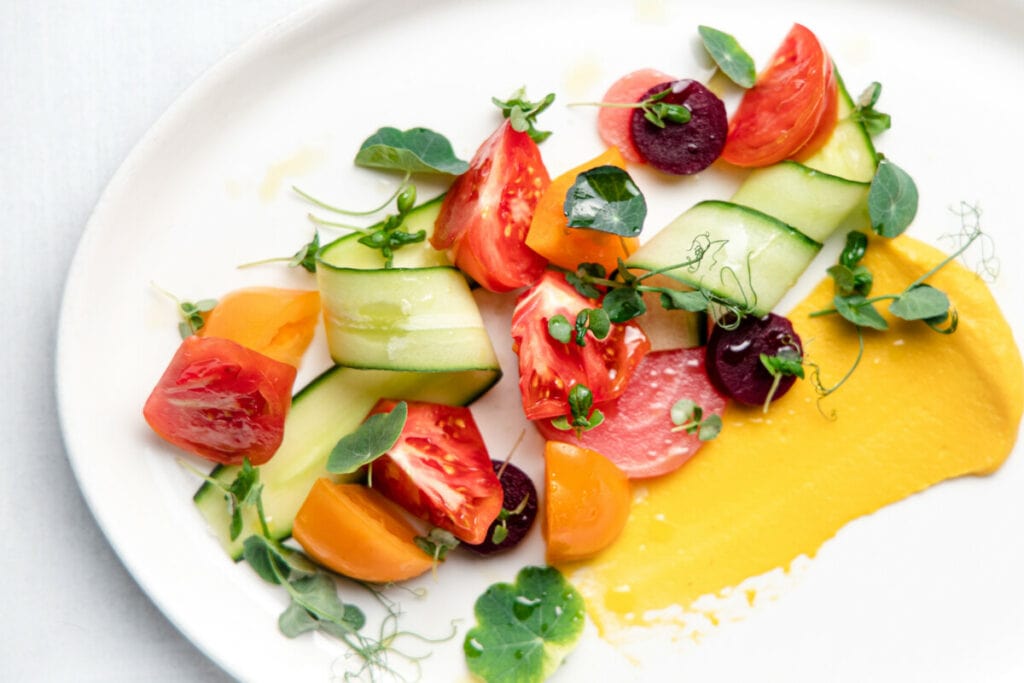
I remember the first time someone told me about flash and I was totally overwhelmed and pretty sure that it was going to require a degree in astrophysics to fully understand. But, I promise, the way I teach the two exposures and how to work with flash inside Artificial Academy is totally learn-able. Once you get it a whole world of possibility opens up! If you don’t have a flash and need help picking equipment, check out our Free Pick Your Perfect Light Mini Course.
Flash Easily Eliminates Blur from Camera Shake
The other super power of flash that helps create sharper photos is the ability to freeze action more efficiently. Traditionally we rely on the camera’s shutter speed to freeze action in photography. We talked about that in the previous post (add link). With flash it’s the speed of the light that freezes the action instead.
For example, this flash is firing at 1/8000 of a second. That’s speedy enough to freeze water being poured and splash shots like you see here with this coffee and creamer.
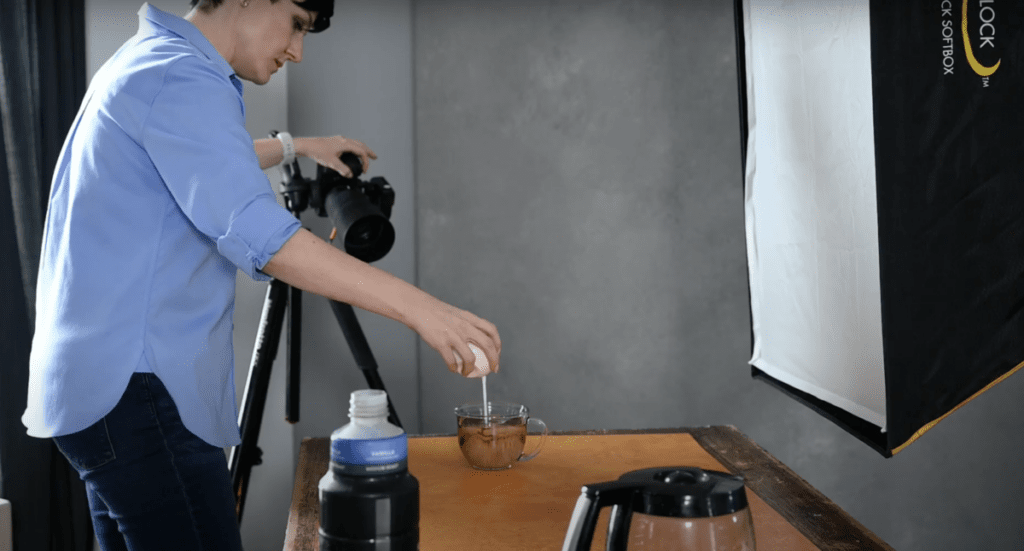

And it’s definitely fast enough to eliminate any potential camera shake. With flash you can shoot handheld and not worry about blur.
Just like the two exposures, if the concept of flash speed (flash duration) is new to you and you want to go in depth on understanding how that works you can join us inside Artificial Academy. Nothing makes me happier than to see people apply these concepts and rock their food photos with cleaner, sharper lighting.
Did you Get it Right?
Remember those images at the top? The ones where I asked you which image was shot with the “cheaper” camera and which one was shot with the “expensive” camera? It’s time to see if you were right! If you said that the image on the left was the expensive camera, you’re right. So that means the one on the right was captured with the cheaper camera. Funny, I can’t tell the difference between them!


Make the Most of Your Current Camera
My hope is that as you tackle these skills and concepts you’ll fall back in love with your current camera and lens. Like the motto of many photographers, “It’s not the camera that takes the pictures, it’s the photographer.” If we save you from unnecessary spending on gear, we’ll take that as another win!


