Need help figuring out photo storage as a photographer? I was saving images to my laptop’s hard drive when I first started doing food photography. I very quickly discovered that this was problematic for two primary reasons:
- Backup. The images only existed on the computer’s hard drive. That meant if there was a hardware failure, the laptop was stolen or lost, or some other tragedy befell my beloved MacBook, those images would be gone forever.
- Limited Space. I was creeping closer to maxing out my computer’s hard drive with each new photoshoot. This posed a specific limit to the number of images that could be stored locally. It also negatively impacted the performance of programs running on the computer. Programs like Lightroom and Photoshop start grinding to a halt without sufficient memory available.
I am very blessed to have a live-in IT nerd, my husband Ryan, who saved the day and streamlined my file storage when it became apparent that this food photography hobby was getting serious.
I asked him to share with us his recommendations for digital photo storage. He broke it down into Simple, Moderate and Advanced, so you can proceed with the solution that best fits your own IT skills, budget and needs.
Cloud Backup
Before we dig into storage, it’s important to note that with any of these options you will need some sort of additional off-site backup solution. All of these technologies are based in on-site (local, aka your home) storage.
Local storage is best for easy access to files, but if there is a fire, or break in, or damage to the physical drives, it’s imperative that you have a reliable backup in the cloud.
It might feel like overkill to have backups of your backups, but when digital files are your bread-and-butter, you can’t be too prepared.
Off Site Backup Solutions We Recommend
All of these solutions offer easy setup to create regular backups of your hard drives for a monthly subscription.
Now on to the file storage!
Simple Digital Photo Storage Solutions
If the term “router” makes you nervous or you don’t have one and you need a solid but simple solution for digital photo storage we recommend purchasing a quality, reliable external hard drive.
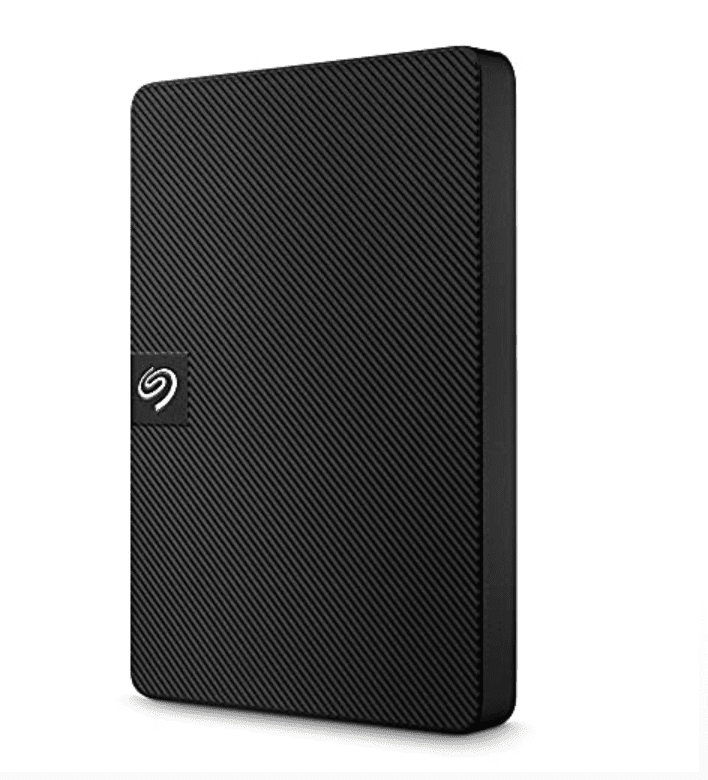
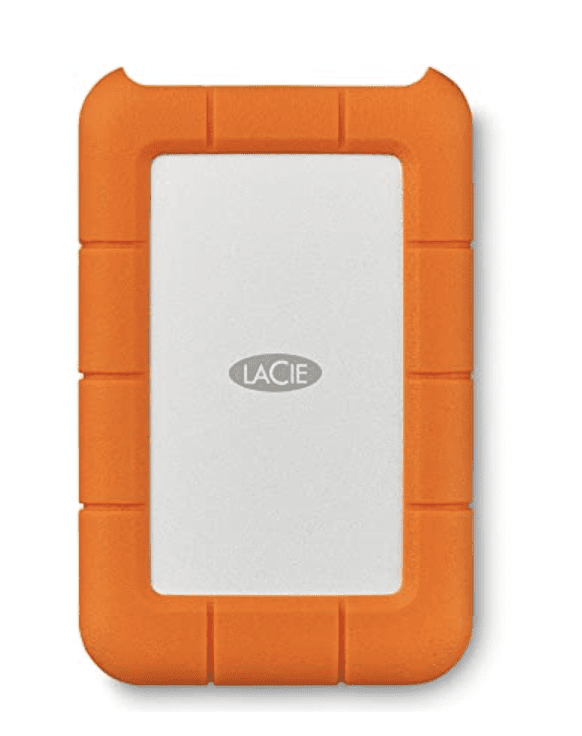
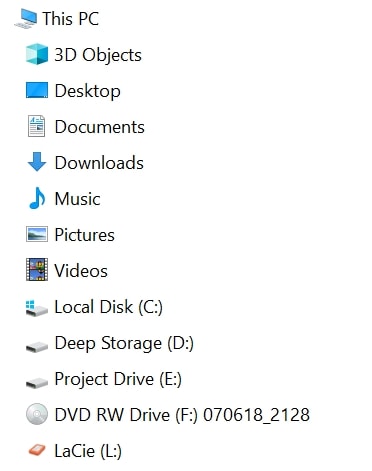
These connect to your computer via simple USB (like plugging in a mouse or a keyboard) and make accessing files easy. When you plug it it, it pops up in your Finder (Mac) or File Explorer (PC) as an additional drive. You can see here on my PC File Explorer in the image to the right is listed the “LaCie (L:)” drive which is my external hard drive that is plugged into my PC via its USB port.
Depending on your computer and your hard drive, you might need to format the new hard drive. This helpful article on how to format a hard drive walks you through the process for Mac and PC.
Things to pay attention to for external hard drives
USB Connection. Since we’re plugging the external hard drive into a USB port on the computer, it’s helpful to purchase an external hard drive with a USB cable that will yield the fastest communication possible with your computer. When you transfer files from your computer to the hard drive, it’s nice if that transfer process happens quickly. The USB connection is the key to speed.
USB ports, like software, are labeled with a particular version number. The higher the number, the newer the technology. For example, newer computers might come with USB 3.1 or 3.2 connections. Older computers might have USB 2.0. Some Apple laptops have the USB-C and/or Thunderbolt connection. To check the version of USB ports on your computer follow these instructions:
Apple
- Go to the Apple Icon in the upper left navigation.
- Then select “About this Mac” and either hit “More Info” or “System Report” and then you’ll have a list on the left to select the USB and it should list out for you if you have Thunderbolt and will also list the USB connection details.
PC
- Open the Device Manager.
- In the “Device Manager” window, click the + (plus sign) next to Universal Serial Bus controllers. You will see a list of the USB ports installed on your computer.
Once you know the type and version of USB ports you have you can choose an external hard drive that has the appropriate connection to communicate best with your computer.
For example, when I went into the Device Manager in my laptop, I could see that it has a USB 3.1 connection.
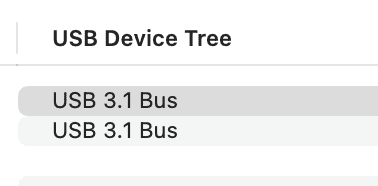
So then, when checking out the external hard drives on Amazon I know that I should choose an external hard drive with USB 3.1 connection or greater. I say “greater” because USB is backward compatible, meaning you can use a 3.2 cable with a 3.1 port and still take advantage of the benefits. But, using a 2.0 cable with a 3.1 port you’ll experience some serious lag when transferring files across. As long as the number on your cable is equal to or greater than the port you have, you’ll be good to go.
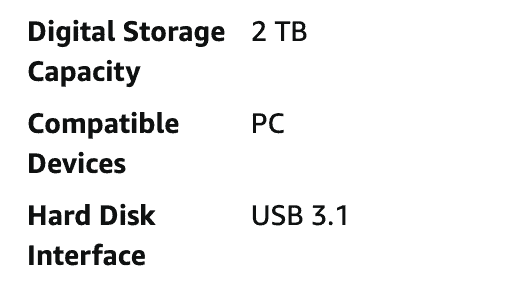
You can find the specs of the connection for a particular hard drive if you scroll into the fine print section and look for a line that designates the USB interface. Here’s an example. You can see this hard drive in particular is USB 3.1, so that would be a great match for my computer. I could also opt for a USB 3.2 and be fine as well.
SSD vs HDD. That’s Solid State Drive versus Hard Disk Drive. The pros for the HDD is that they are generally more affordable and you can get larger amounts of storage for less money. SSDs on the other hand can cost more but are a newer technology without any moving parts inside. Less moving parts on a device means less potential for things breaking and losing your data. This is a particularly important consideration if you travel with your hard drive. From floating around inside a backpack to getting dropped on set, if there are moving parts in your hard drive they are more apt to break or malfunction if you’re moving it around a lot.
Terabytes. TB stands for Terabytes which represents the storage capacity of a hard drive. More terabytes means more storage. More terabytes also costs more money.
How many photos does a terabyte hold?
One terabyte stores approximately 125,000 24 megapixel photos.

Megapixels represent the number of pixels (the resolution) of an image. Every digital image is made up of millions of tiny dots called pixels. Zoom in to a digital photo and you’ll see what I mean.
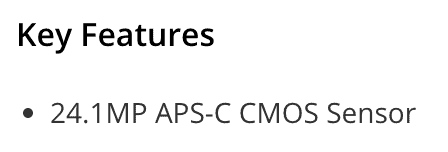
The more pixels packed into an image, the higher its resolution. For example, full resolution images shot with a Canon Rebel t7 are 24 megapixels which translates to 24 million pixels. You can find out how many megapixels your camera captures by looking up the product page on Amazon or your favorite camera retailer. They should list the sensor details and megapixel count in the features section or “product specs” represented as MP. Like in the below example showing 24.1 MP. That’s 24,100,000 pixels per photo!
Images captured at a higher resolution will fill up a terabyte drive faster than low resolution images. Keep in mind how much and how often you’re shooting in addition to the size of your files as you consider how many terabytes you need.
Want to learn more about megapixels and how they impact your food photography? Check out this previous video.
Also, while we’re talking about size, also consider the physical size of the hard drive and what will suit your needs. If you’re on the go and need something portable, make sure to get a hard drive that can fit nicely into your camera bag. Some hard drives can get physically very large and would be too cumbersome to haul around regularly. All of the ones linked below are compact and portable.
External Hard Drives We Recommend
Western Digital Passport 1 TB SSD
Moderate Digital Photo Storage Solutions
The next level solution in our lineup requires the installation of a router on your home network.
A router is a piece of hardware that enables communication between all of the devices in your home network and the internet. Think of the router like the post office. Mail (the internet) arrives at the post office (the router) and gets delivered to different houses (your computer, Roku, gaming systems, streaming devices). Routers not only enable you to connect multiple devices to a single internet connection but also provide an important level of security to keep creepers from accessing your system.
This helpful step by step guide to setting up a home router is a great place to start if this is your first time setting up a router.
Once your router is set up and communicating with your computer, you can plug an external hard drive, like we talked about in the simple solution, directly into the USB port on your router.
The primary reason you would want to do this as opposed to plugging the USB directly into your computer is if you have multiple people at your location with different computers who want to access the files. Instead of passing a hard drive back and forth to access files, the hard drive is accessible via the local network on all of the devices also connected to that network.
For example, both Ryan and I have computers connected to our local network router at home. If there was a hard drive plugged into that shared router we would both be able to access the files from our computers at the same time.
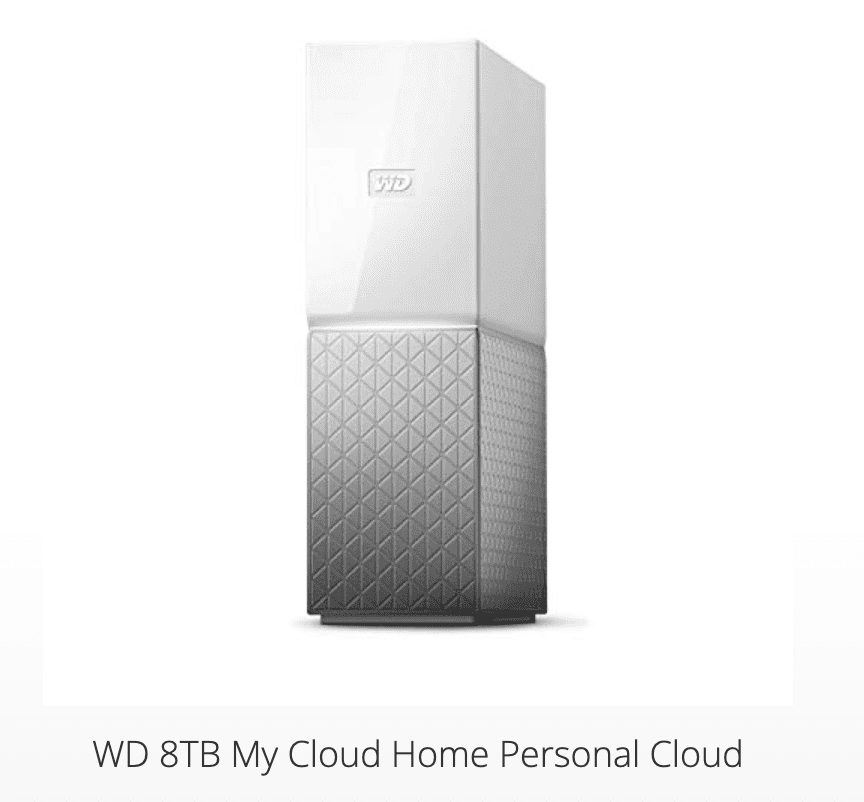
Another option that we recommend in the Moderate + category is the Western Digital MyCloud Home which plugs directly into your router through the internet connection instead of USB. It’s a simpler setup than the advanced solutions we’ll share, but it does have some of the nifty bells and whistles that make it great for automatic backups and file sharing.
One of the big upsides to the Western Digital MyCloud Home device is that it contains two drives that mirror one another, serving as an additional local backup. Local meaning, physically on site (aka, at your house). When you save your files to one drive, the second drive is automatically making an exact copy of the first drive. If one of the drives fail, there is a backup ready to go. You also have the option to disable mirroring and use them as individual drives to provide more storage capacity. I personally like the peace of mind of the mirroring feature knowing there is a full backup of my files ready to go in case of a hardware failure on one of the drives.
Advanced Digital Photo Storage Solutions
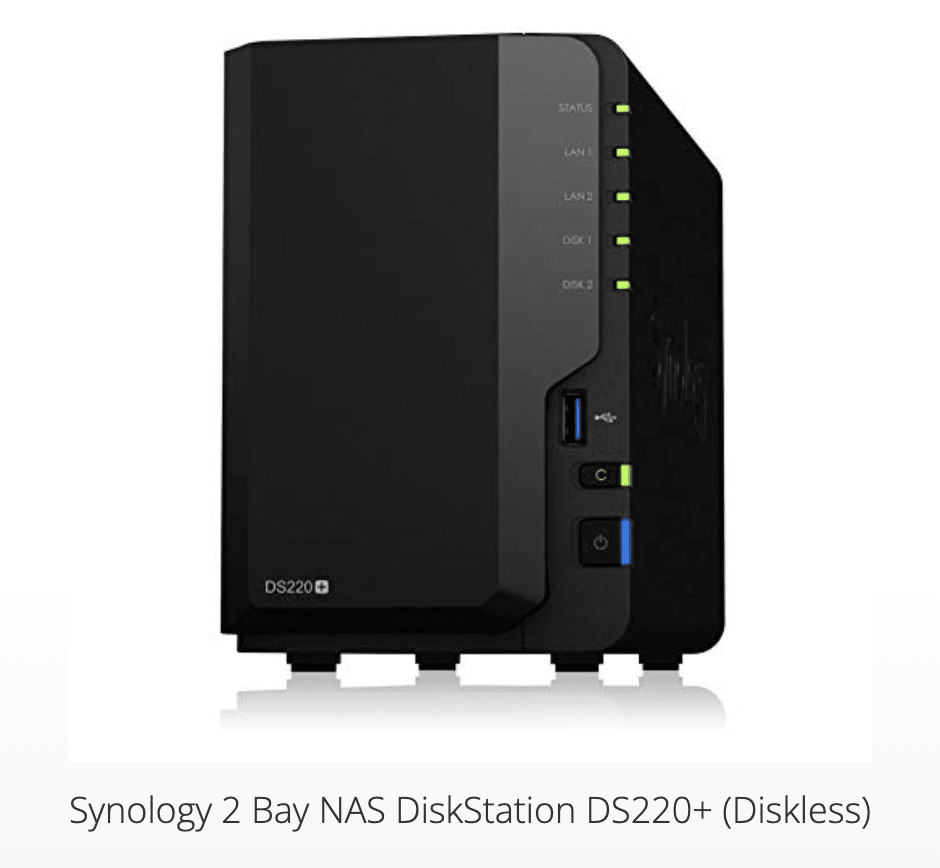
Here at The Bite Shot Studio we’re using a Network Attached Storage (NAS) solution. When we move into the world of NAS it is a bit trickier to configure, but with a solid dose of motivation it is something you can successfully implement into your file storage workflow. Synology, the brand that we recommend for NAS solutions, has a first time setup video to help you through the process.
There are several compelling arguments for moving toward an NAS solution.
File Sharing
The NAS is like a mini computer that contains multiple hard drives and its own dedicated operating system. You connect it to your network via your router.
The operating system that runs the NAS allows you to run special built in apps designed for the device that allow you to share files with clients and team members. You can also set specific parameters on file sharing. For example you can send files to a client but then set the access to expire after 1 week. It also allows you to access to all of your files remotely via the web.
Security
You can set additional levels of permission and access through the operating system that comes with the NAS system. As mentioned above, you can setup security through your router to prevent people from accessing your overall network. But it’s an added layer of security to password protect your NAS.
Easy Backup
We talked about the cloud options for off site backup at the beginning of this post. Say, for example, you were using Backblaze for your cloud backup solution. Backblaze would be installed as an application on your computer, just like any other program, and when it runs the backup process it takes up a lot of bandwidth and processing power. This is fine if you’re not trying to do anything else on your computer while the backup runs. But, if you have a bunch of files to edit in Lightroom and the backup is running at the same time, you will see a lag as there is only so much traffic that can flow through the USB at one time.
It’s like traffic during rush hour. The more cars trying to go down the same road at the same time the slower traffic gets. The more data you’re trying to send back and forth from your computer to the hard drive the slower everything gets.
The NAS, on the other hand, is a completely separate computer so it can run the backup process completely independent from the computer you’re using for your work. It’s like creating a second road for traffic to flow so you don’t have to wait for rush hour to be over.
What does it mean by “Diskless”?
One thing to note with the NAS options is that often the hard drives that go in them are sold separately. When it says it’s “diskless” that means you need to purchase hard drives for it separately. Depending on the NAS you purchase, they come in configuration options of 2, 4, 6, or 8 drives that can be inserted.
The multiple drives serve the purpose of mirroring one another for automatic local backups like we talked about previously. It also provides the opportunity to expand your storage to accommodate an even larger amount of file storage.
When selecting hard drives, our favorites for the best intersection of good quality at a fair price are Western Digital and Seagate. Ryan’s top favorite hard drives are the Seagate Ironwolf series. They’re built to perform and have an outstanding warranty.
One Drawback
The one drawback of NAS solutions is that they’re not quite as fast in terms of transferring files from your computer to their hard drives. This does have an impact on my file saving workflow.
When we first installed an NAS here at the studio, I was transferring files directly from the camera to the NAS. But I quickly found out this wasn’t going to be the best workflow because the speed of the connection between my computer and the NAS is slower. Photo editing became a frustrating task as Capture One tried to load files and write changes at a snail’s pace.
My current workflow is to capture and save current projects that I’m working on to an external hard drive attached directly to my computer making my capture and editing process nice and speedy. Once the project is wrapped and I’m done with all of the edits and processing, then I transfer all of the files to their final home on the NAS. I can still easily access them if I need, but otherwise they’re safe and sound and being backed up with the mirrored drives and the off-site cloud storage.
NAS Recommendations
Synology DiskStation DS220+ 2 Bay (diskless)
Synology DiskStation DS920+ 4 Bay (diskless)
Other Considerations and Accessories
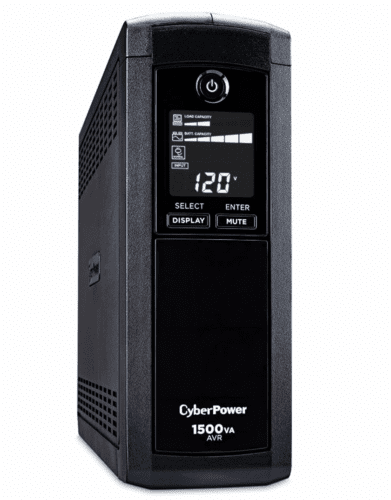
In addition to all of these great storage solution options, you will want to make sure to protect them from any sort of power issues with a quality surge protector. If lightning strikes your building that could cause a surge of power that could wipe out your hard drives. A power strip is not the same as a surge protector so double check to ensure that what you’re plugging your computer and devices into has a Joule Rating of at least 2500+.
Something else to consider, especially if you’re located somewhere with unstable power or frequent power outages is a Universal Power Supply (UPS) Battery Backup. These nifty devices can continue to maintain power during an outage as well as serve as a surge protector.
If you’re still feeling uneasy or intimidated by how to proceed, I recommend seeking out the customer service folks a reputable retailer. NewEgg.com and BHphotovideo.com are two of my favorites and I have found their team members to be very helpful in answering my questions.
Ultimately, the two priorities for me when it comes to storing digital photos and videos are accessibility and regular, automated backups. Any one of these solutions can achieve those goals and we’re excited for you to have a home for your beautiful images!
Want to check out the other posts in this series about starting a food photography business?


