Want to spice up your next Reel or TikTok video with better camera angles? Often we can get stuck in a rut of filming videos from the same perspective, the same angle, the same framing and it gets a little boring.
Instead, take a tip from the tried-and-true handbook of Hollywood filmmakers for creative camera techniques. You can change up your camera angles and use creative perspectives to help hold viewers’ attention.
I’ll be using a phone camera to demonstrate all of these techniques. But you can easily translate the same techniques with any camera that you’re using.
This first group of techniques we’re going to explore are different options for framing your subject.
Establishing Shot
Often used at the beginning of a video, the establishing shot is a wider angle of view that gives context to the subject. For example, if the video is about a chef, we know what kind of chef they are based on being able to see some of the kitchen.
A chef in a pristine, stainless-steel, restaurant kitchen will establish a different tone compared to a chef on a picnic blanket in the middle of Central Park.
However, establishing shots are used minimally (sometimes not at all) in TikTok and Reels food videos. We don’t have a ton of time in social media to create a connection with the viewer and wider shots generally feel less intimate.
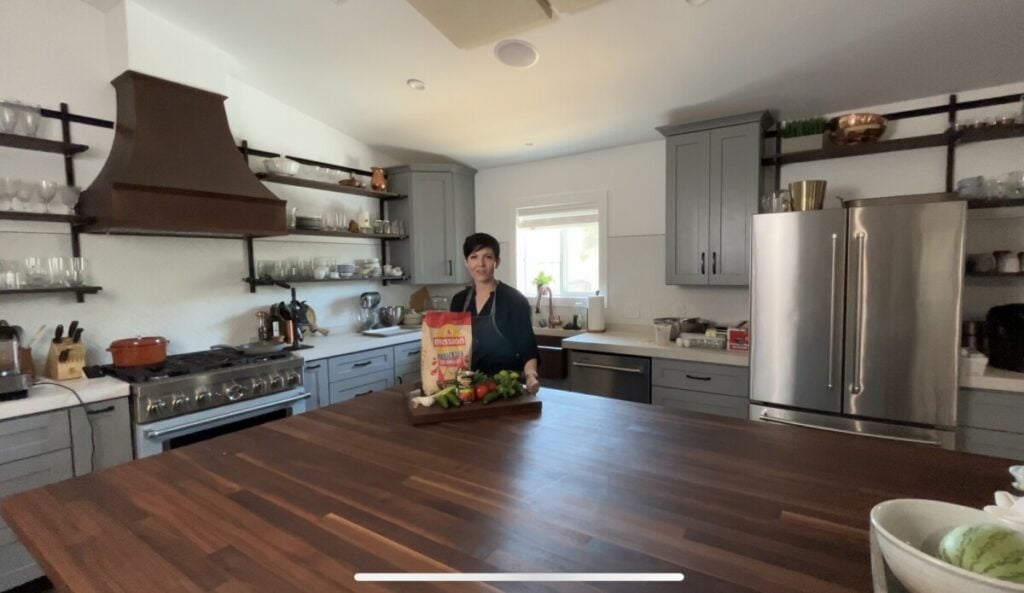
Like this wide shot of me in the kitchen getting ready to make a recipe. I would personally leave this shot on the editing room floor since it’s not critical to the story we’re telling and isn’t advancing the connection between me and the viewer.
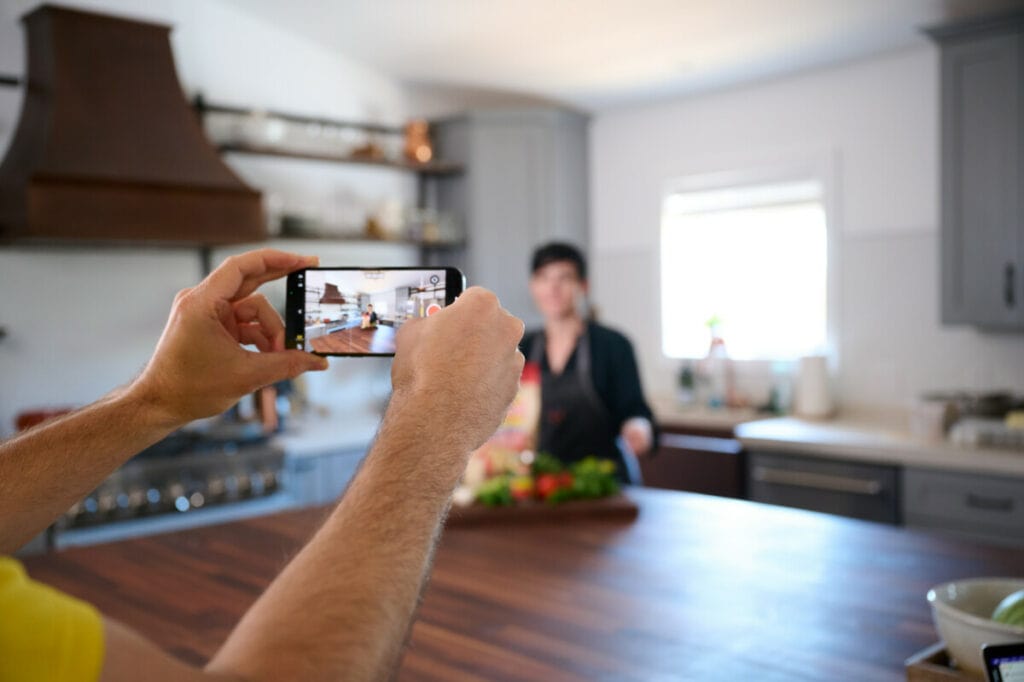
I’m not saying you shouldn’t use establishing shots in food videos. But, they should be added with specific intent, taking into account the value of the shot to your viewer.
Where do establishing shots show up all the time on social media? Travel content. Watch any video on @theworldpursuit and you’ll see lots of examples, entire videos, of stunning establishing shots.
Full
A full shot allows the viewer to see the entire subject, from head to toe, in the frame.
For example, here in our kitchen, the viewer can see me, the ingredients, the countertop and the workspace. They can see how I’m moving in the scene. The camera is placed fairly far away from me to get the full shot.
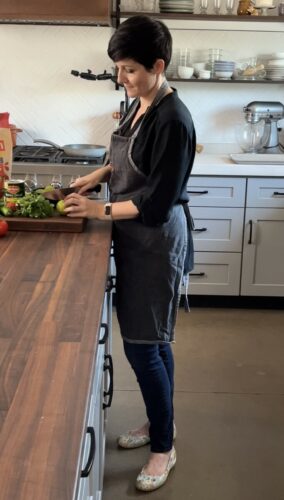
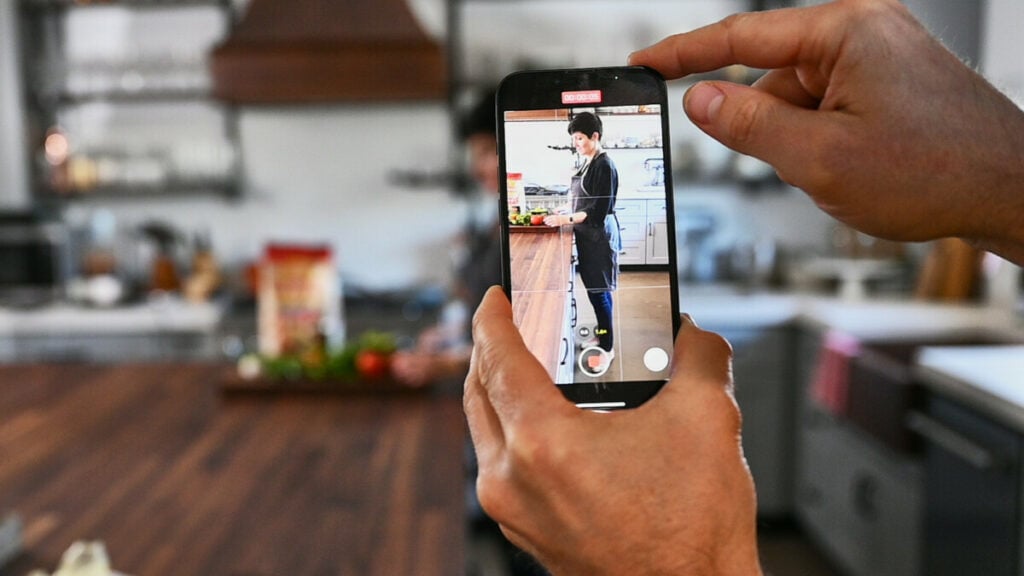
This shot helps to illustrate action and movement, but like the establishing shot, since it’s fairly far away we don’t get a sense of emotions or develop a close personal connection.
Similar to the establishing shot, this one isn’t used much in social media food videos. But, if you’re looking to bust a move like @cost_n_mayor and make it big dancing on TikTok, full shots will be your primary angle of view.
Medium
The medium shot is super popular for “hosted style” cooking videos. Watch any TV cooking show led by a host and you’ll see lots of medium shots.
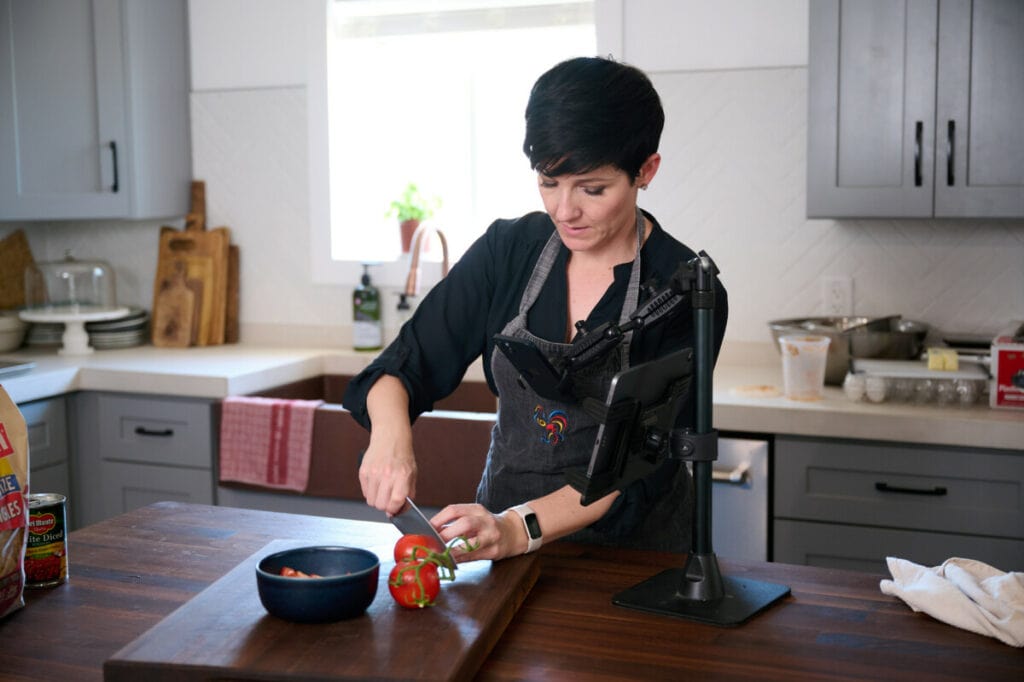
Here you can see my torso, head, hands and the workspace as well as some of the environment. The camera is placed in the middle of the kitchen island to capture the medium shot.
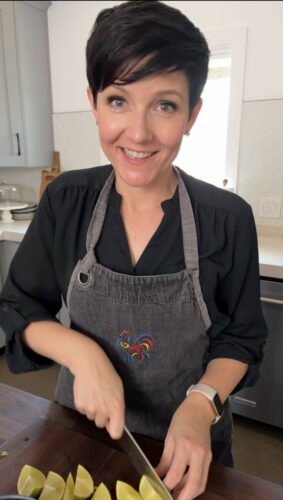
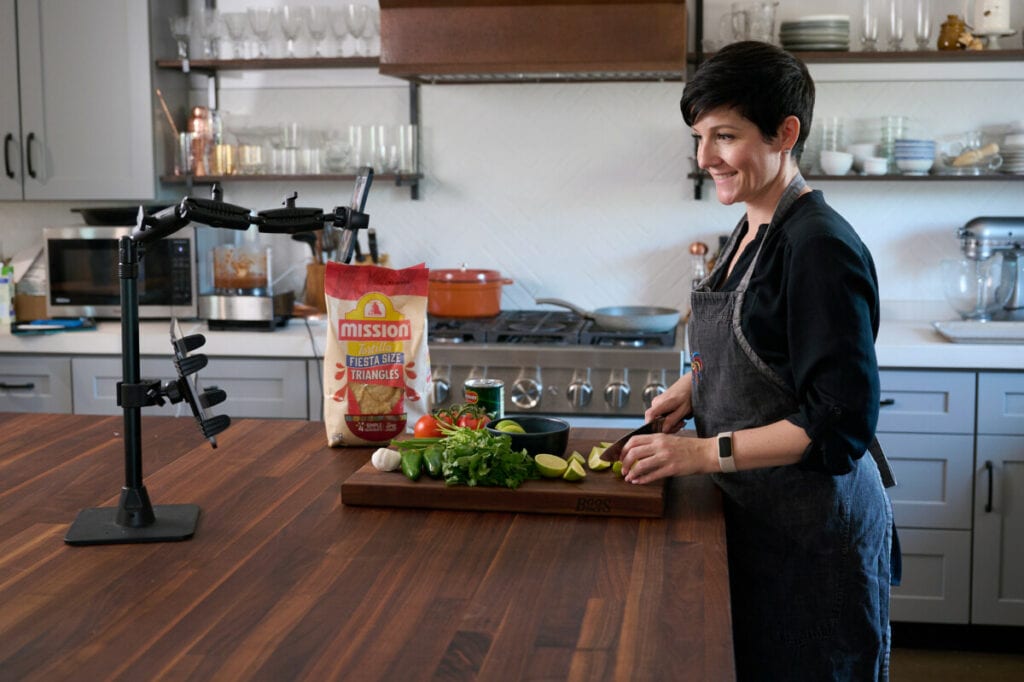
Medium shots help the viewer feel like they’re sitting across the table from you and a part of the conversation. It’s close, but not as close as the next two angles. As the camera gets closer, so does the feeling of connection between the viewer and the subject in the video.
Close Up
“I’m ready for my closeup!” This is when the view is tightly framing the subject’s head and their face fills the frame. In the food video world, the Close Up can also be focused on the food.
Like the salsa ingredients here, the food mostly fills the frame, but we still see the whole bowl and context. The camera is positioned close up to the food to get this shot.
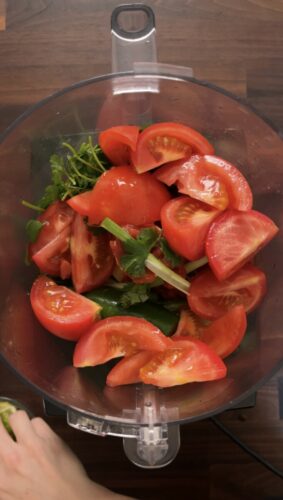
Close ups are super popular in all manner of videos on TikTok and Reels. Tabitha Brown rocks the Close Up and Joshua Weissman jumps between Close Ups of his food and his face in his fast-paced cooking videos.
Extreme CloseUp Shot
This is what I call a “small details” shot. The viewer is seeing something at close proximity.
For example, we’ve gone beyond the Close Up of the bowl of salsa and are now inside the bowl. Extreme close-ups are effective in food for kicking the viewer’s salivary glands into overdrive.
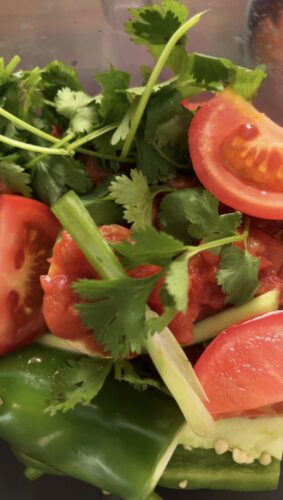
The camera has been moved up physically even closer to the subject. Or, if you don’t want to or can’t move the camera closer, you can use the Zoom feature on your phone’s camera app to create the same feeling.
If the subject is a person, then the extreme close up is focused on a part of the face. Like in this shot where we’re close up on my eyes winking. These shots can feel unnaturally close, though are effective for expressing drama or intense emotion.
As you can see, as the camera gets closer to the subject, the more intimate the video feels. And when we have only a second or two to establish a connection with someone, closer is often considered better. That’s why the majority of short-form food videos are captured somewhere between medium and the extreme close up.
The next group of perspectives are associated with the position of the camera relative to the subject. Just like the previously mentioned techniques, these perspectives help engage the viewer in different ways and elicit different feelings.
Point of View Shot
The Point of View perspective, also referred to as the “POV” shot is captured from the perspective of the viewer. It’s putting the viewer into the shoes of the subject and seeing through their eyes. This perspective helps to connect the viewer to the character’s feelings and experiences.
For example, in this shot you can see the ingredients being added to the food processor from my perspective. The camera is placed directly in front of me and and then my hands enter from the bottom sides of the frame just like yours would if you were standing in my shoes.
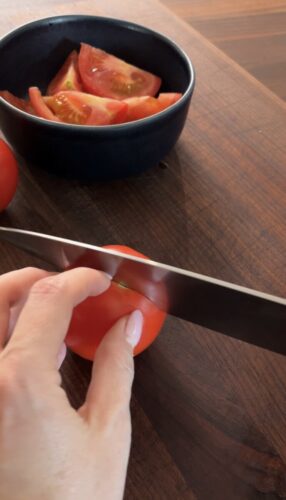
In food videos, this creates a feeling for the viewer that they are participating in the food preparation. Even though they’re not cooking, they’re getting the sense of accomplishment that comes from completing a task. This also helps to empower them, giving them the sense that they could execute this recipe on their own.
Overhead Shot
The overhead, birds-eye-view allows the viewer to see everything going on in a scene and the interactions between different elements and subjects.
This is the default position of many food videos and mirrors the popularity in still food photography of capturing food from overhead.
Often because of the nature of food preparation, many POV shots are also overhead shots.
This perspective is widely used in food videos and was extensively used by outlets like Buzzfeed and Tasty when short form recipe videos started taking off online in the 2010’s. Food media folks will often refer to these style of videos as “hands-in-pans”.
You can see here how I have the camera mounted overhead and the action is happening on the countertop.
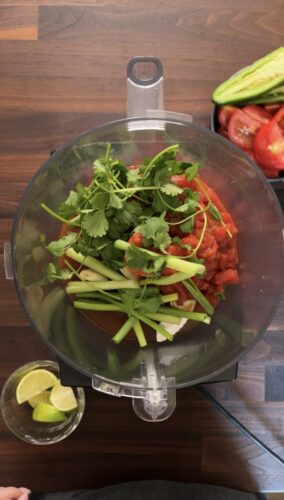
Please be super careful with your camera mounted in this position and any positions where the gear is very close to the action. I’d hate to see your phone fall into a pot of soup!
Also, if you’re filming and steam is fogging up your lens, set up a fan next to the setup to blow the steam away from the camera.
Up Shot
Take a moment to watch this video by @cookingwithlynja. First off, notice how often they are changing up the camera angles and perspectives. It moves so fast we can barely keep up with this groovy granny.
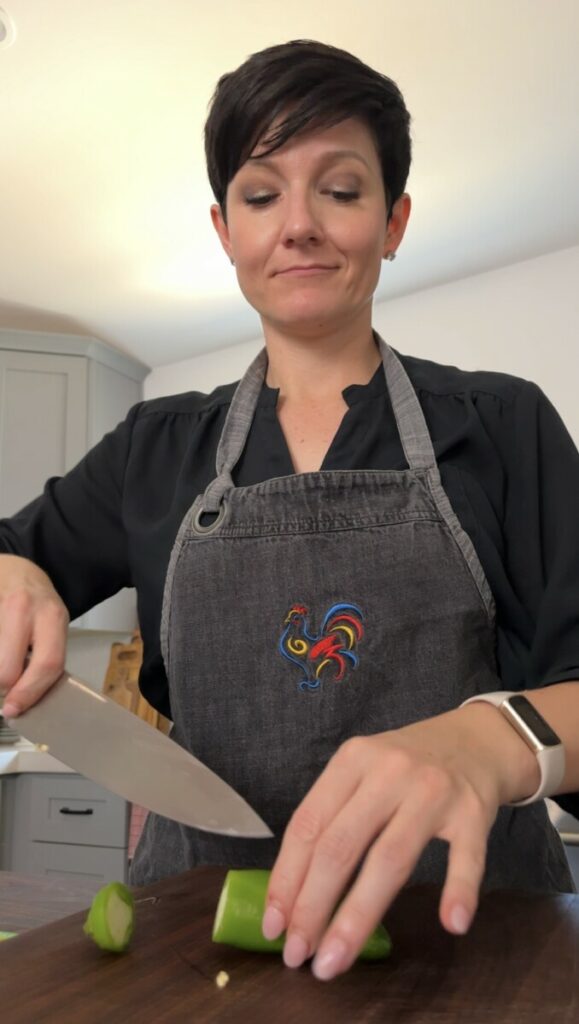
But, then notice how often they’re capturing a lot from a perspective where the camera is in a low position and tilted up toward her. This makes both the food and Lynja feel larger than life.
This is the Up angle because the camera is looking in an upward direction.
The up angle commands authority because it psychologically makes the viewer feel like the subject is larger and taller than them. In the case of Lynja, the up angle expresses her BIG personality, her culinary authority and makes the food she’s preparing feel epic and exciting.
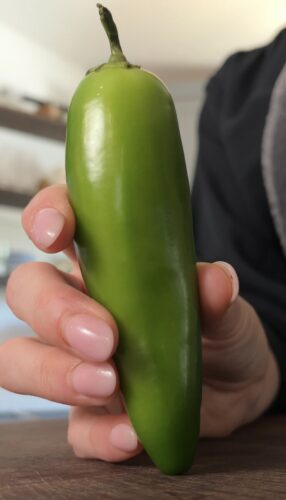
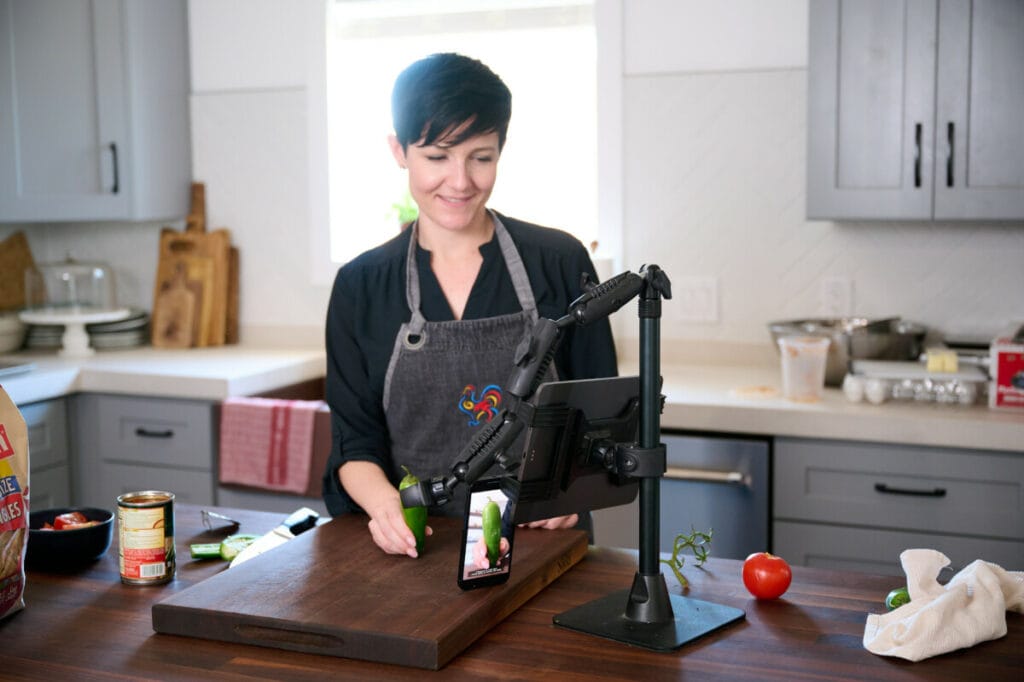
You can see this shot of the jalapeño makes the otherwise small vegetable feel big and emphasizes the spicy flavor of this recipe.
Down Shot
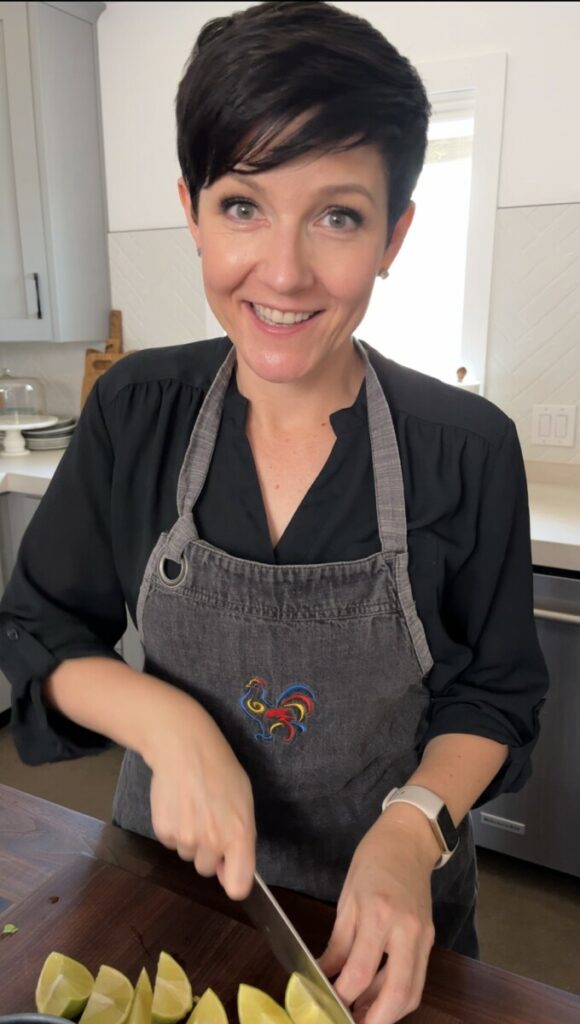
The down angle is probably as you guessed, the opposite of up. In this case, the camera is looking in a downward angle at the subject.
The higher the angle of the camera, the more vulnerable the subject will start to appear. But, effective use of the down angle in food videos like in videos by @cookingwithshereen can help create a connection with the viewer.
She presents with a strong, confident energy, so filming at a slightly down angle helps bring the viewer to her level, making us feel like her friend in the kitchen instead of feeling like a student.
Also, much of the food preparation is done in the down angle, giving us confidence that we too can master these ingredients just like Shereen.
Here you can see the camera is capturing me in the slightly down angle and the camera is positioned slightly above my eye level.
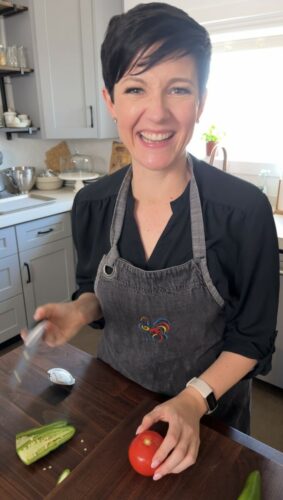
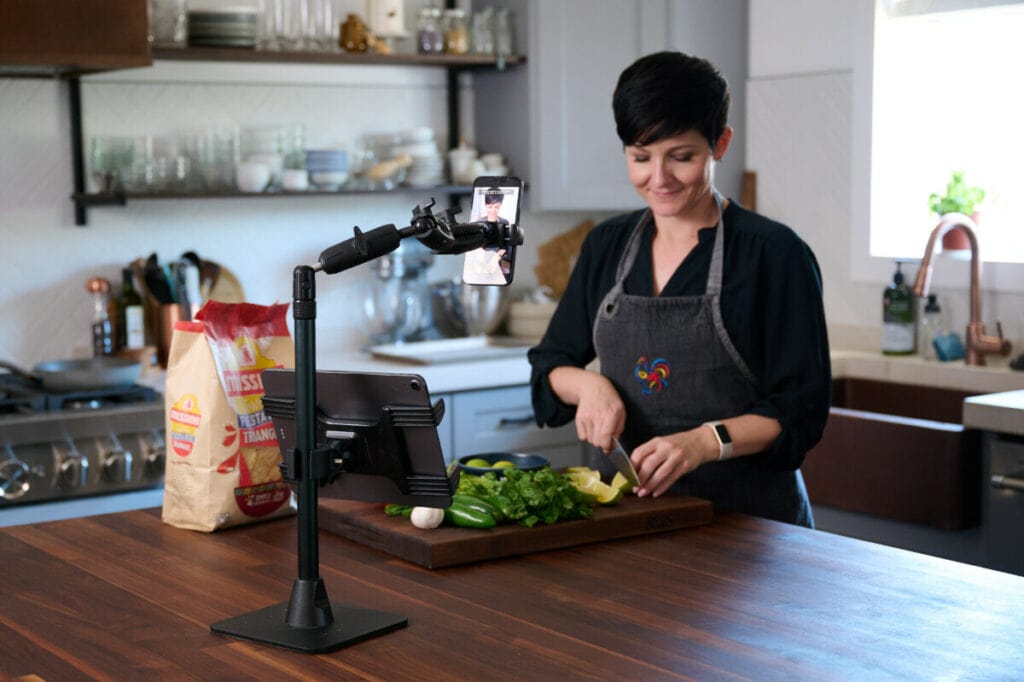
See how the feeling and story changes based on the perspective of the camera. The same subject at different angles can make a big difference.
Taking Notice
Now that you are equipped with this filmmaker knowledge, you’ll start to notice the camera tricks people are using in their videos.
Pay attention to the ones that keep your attention. What angles are they using? How often are they changing the framing and perspective?
Also pay attention to the ones that don’t. Why did you get bored? Why isn’t this video engaging?
Keep track of these ideas and add some visual variety to your next video.
Next week we’re going to dive deeper down the filmmaker rabbit hole and explore creative camera action techniques. It’s fun when the subject moves, but even more fun when the camera moves!
Don’f forget to check out the gear I use for making food videos on my phone. And if you need help with creating sharper images, check out this blog post where I share my top three tips!


