Lots of people think they need a “better” camera or a new lens to get sharper photos. But often, the problem isn’t the gear. If you’ve been frustrated by less-than-sharp photos these tips might help solve that problem and make the most of the camera you already own. Ready to learn the three tips for taking sharp photos?
#1 Misplaced Focus
The first thing I do when I’m working with someone who is struggling with focus is ask to see some sample images. Specifically, images that they felt weren’t as sharp as they’d like. Often, I discover that parts of the image are actually in sharp, crisp focus, just not the parts where the focus should be.
Take this image for example. The eye naturally wants to rest on the in the muffin in front but it’s not super sharp.

But, look at the surface and you can see that the area just behind the subject is in tack sharp focus. This is a case of mis-placed focus.


If you review your photos and notice that this is something you struggle with, take some time to dig into the mechanics of how focus works and practice both working in manual and auto focus modes. To create sharp photos, I have an in depth video on understanding focus that I recommend reviewing to get you started.
#2 Increase Your Screen Size for Sharp Photos
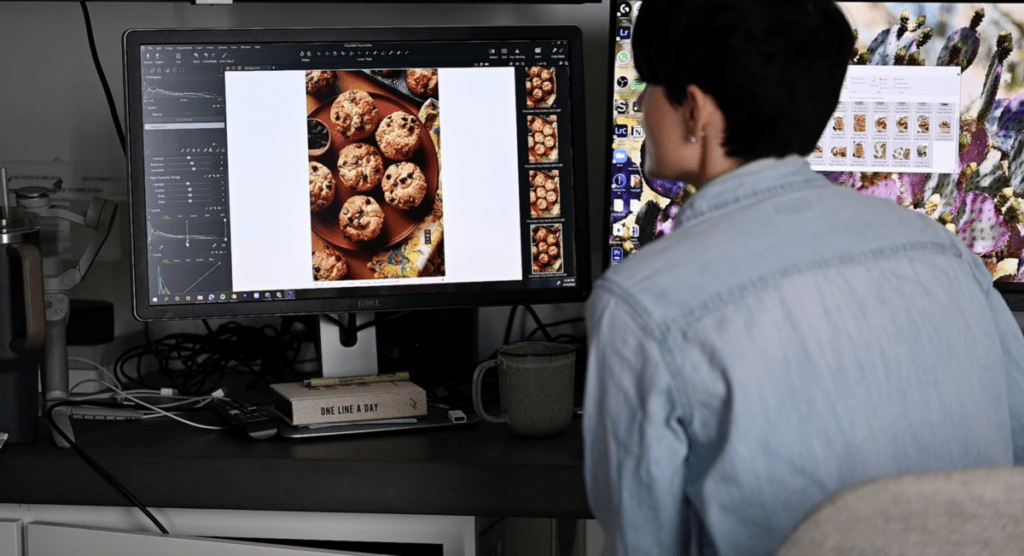
Have you ever looked at the back of your LCD screen to check an image you captured and swore it was in focus? Then later when you went to edit the photos on your computer you discovered that the focus was slightly off? This was a big reason I transitioned to shooting tethered.
Why? When you tether your camera to your computer with a tethering software, you can see the images pop up on the computer monitor and verify that they’re in focus immediately after the photo is captured. For sharp photos, the larger screen makes it easier to confirm the focus as well as other fine details that can sometimes be missed on smaller screens.
If you haven’t shot tethered before, check out our introduction to tethering for all the basics on equipment, software and best practices.
#3 Eliminate Shake
Have you heard of the rule regarding your shutter speed when you’re shooting handheld? You want to work with fast enough shutter speeds to freeze a moment and keep things crisp and sharp. Shooting handheld with a slower shutter speed can introduce blurriness. Even if you’re super still, there can be a little bit of movement and cause blur in your images.
In order to minimize camera shake the bottom number of your shutter speed should be double your focal length. So, for example, if you’re using a 50mm lens, the slowest recommended shutter speed would be 1/100th of a second. On a 100mm lens you’d want the shutter speed to be approximately 1/200th of a second. That should be fast enough to keep things crisp and create sharp photos when shooting freehand.
But, maybe you’re using a tripod so that you can take advantage of slower shutter speeds in low light situations. Because a slower shutter speed can brighten your exposure but will also require the camera to be super still. That can work great, but, be sure your tripod is stable.
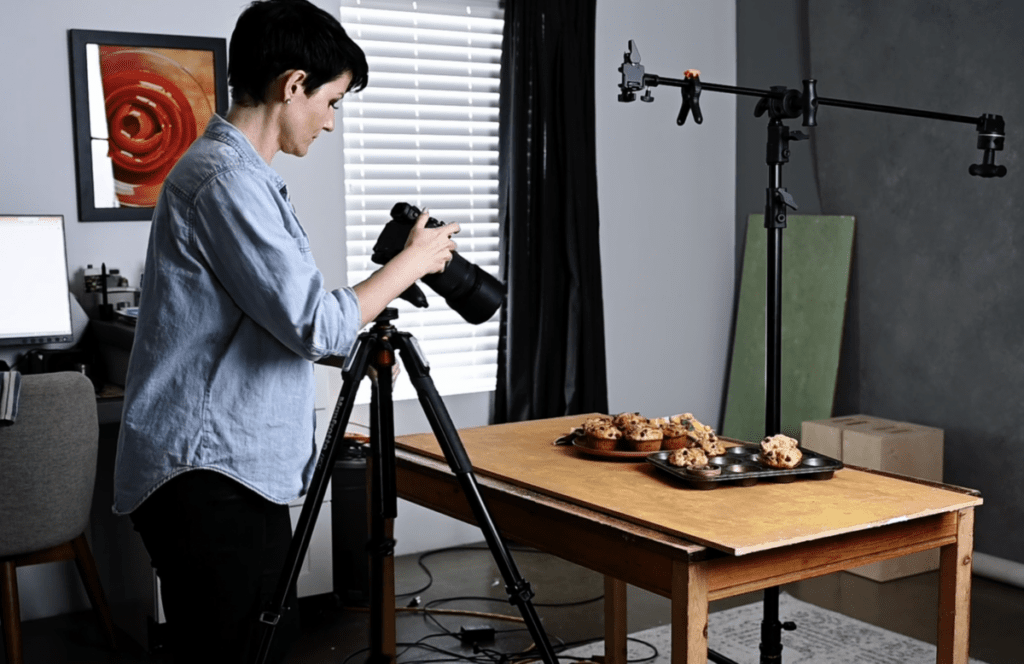
One of our community members was having issues with blurry shots despite shooting on a tripod. It was because when she physically pressed the shutter it caused the camera to move ever so slightly. Because she was at super slow shutter speeds, it created blur in her shots. She switched to shooting tethered and pressed the shutter button on her tethering software instead, and in return captured crisp, sharp photos.
If you don’t want to opt for tethering, a remote shutter release like this wireless Yongnuo set can also be a great solution (*NOTE! select the shutter release set that is compatible with your camera – the camera models they are compatible with are listed in the product description).

There’s one more possible issue that a lot of folks don’t realize is contributing to their problems with sharpness and clarity. It’s a bigger topic that deserves its very own lesson. So join me in the next post and we’ll get into it!
Want to learn more about how to get super sharp photos? Check out the second video of this two-part series all about lighting!


