Ever wondered what the must-have food styling tools are in a stylist’s kit? What secret weapons do they use to make food look extra delicious on camera?
Let’s dive into the top favorites that we use often here at The Bite Shot Studio. We’ll add some sparkle and shine to your greens, get those perfect grill marks on your burger, and uncover all the tricks up a professional food stylist’s sleeves.
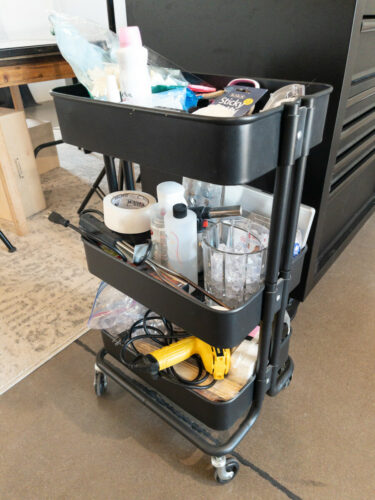
Food Styling Tools Warning
Word of warning: Many of these food styling tools can be dangerous. Further more we’re using some of them outside of their intended purpose. Please proceed with caution!
Grill Starter
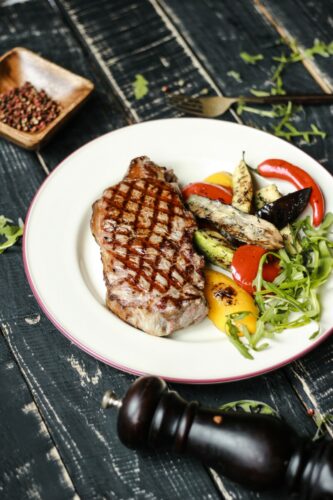
Grill starters are typically used to ignite the fire for a BBQ grill. Stylists use them in food photography to add grill marks. Next time you see a commercial advertising grilled chicken, steaks, or even grilled veggies, pay attention. There’s a good chance a grill started was used to add the char marks.
Simply turn on the starter and apply the hot long edge of it to any food to create a long char mark. Continue applying the char marks thinking about how they’d look if the food came off an actual grill. Consider the distance between marks to make it look believable. You can also get fancy with creating a crosshatch pattern like you’d see if you rotated the food halfway through cooking.
This tool gets super hot (hot enough to light a grill!) so proceed with caution! Also, be aware when you’re setting one down after using it. Even if it’s turned off they continue to retain heat and can burn the surface you set them on.
Heat Gun
A heat gun is a helpful food styling tool to have on set. Most often food stylists use them to apply concentrated heat to a specific spot on food.
For example, need a perfectly golden brown toasting on the edge of a bun? Fire up the heat gun, and point it toward the bun in the spot where you want it toasted, positioning it a few inches away from the surface. You’ll see it start to toast that spot. Continue applying the heat until you achieve the desired color.
You can also use a heat gun to encourage the cheese to re-melt for the perfect cheese pull on foods like pizza. You can see that trick in action on YouTube in our video How to Shoot a Cheese Pull.
Recently, we were shooting a cheesecake with a chocolate ganache topping. The client saw an opportunity to make the chocolate look glossy and wet. This makes it look extra mouthwatering. The food stylist, Brendan, busted out the heat gun and applied heat to the chocolate to re-melt it and create a glossy finish.
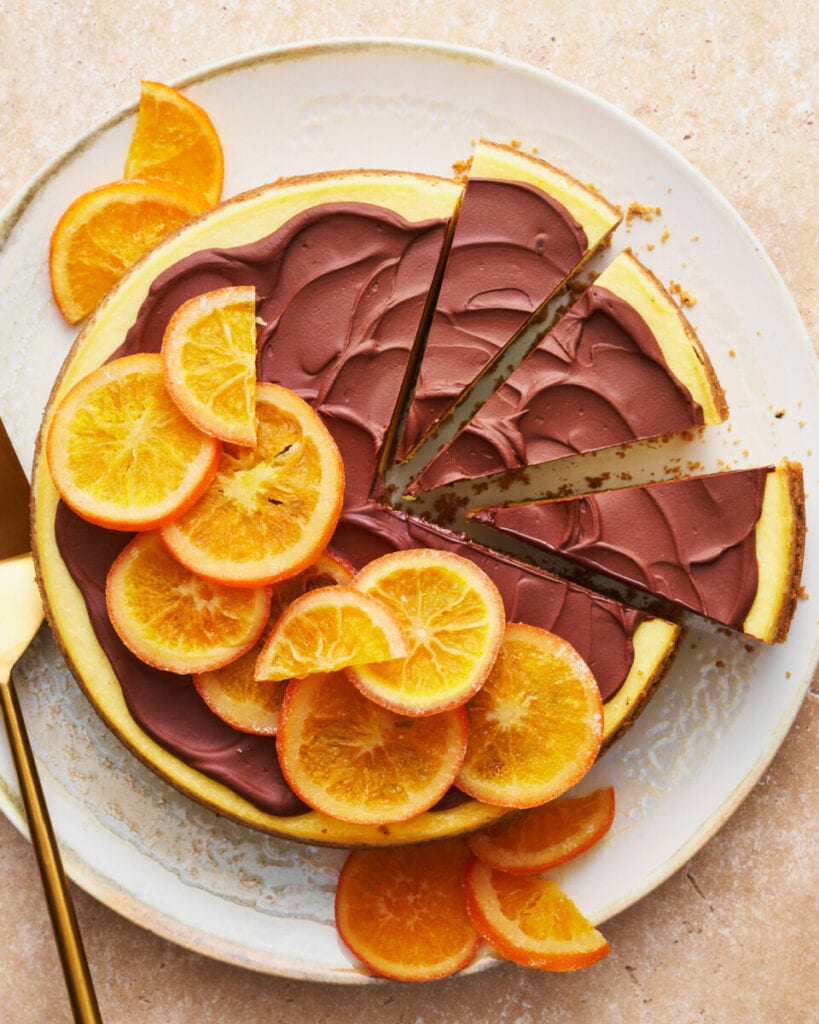
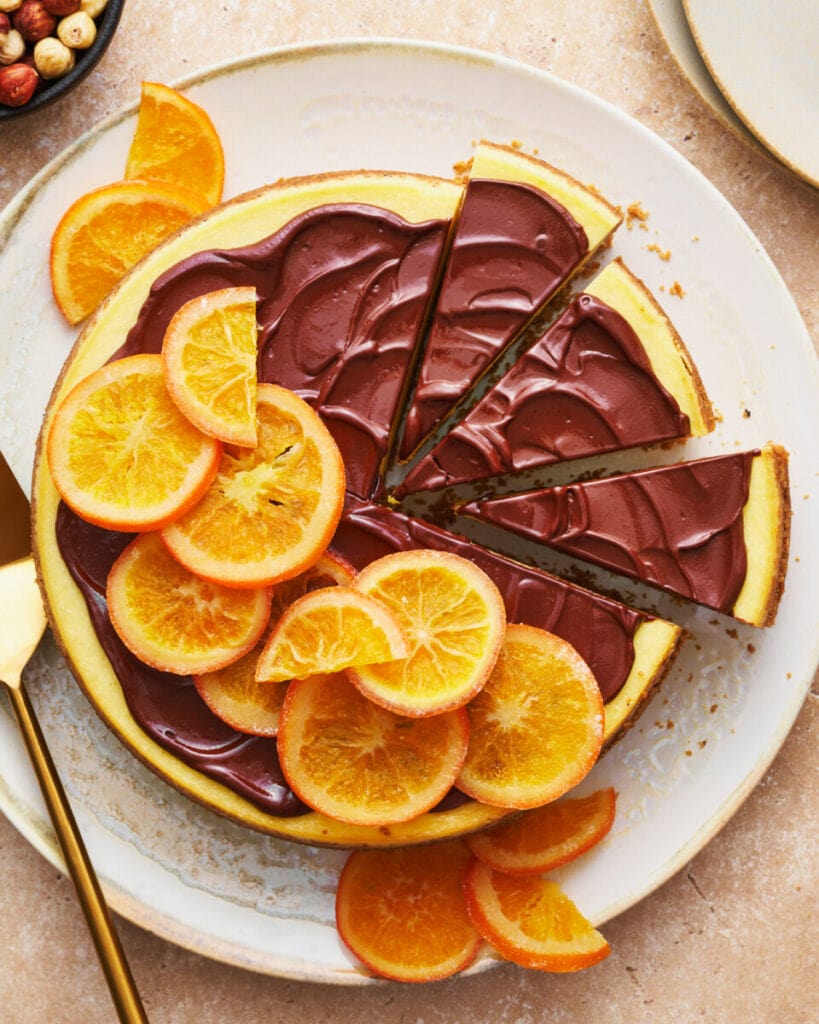
However, like the grill starter, these get extremely hot! They look like a blow dryer, but I promise they’re nothing alike. The average heat gun gets up to 1100 F (593 C) and will scorch anything it’s applied to if not handled with care. Equally, be mindful when setting them down after use. I once set one down on a wood cutting board and it left a burn mark behind.
X Acto Knife
Precision cuts are important for slicing pies, cakes, and anything delicate that is prone to breaking when slicing. Any chef can tell you that you need sharp knives for preparing foods. But when we’re styling and a super precise cut is needed I pull out the X Acto Knife.
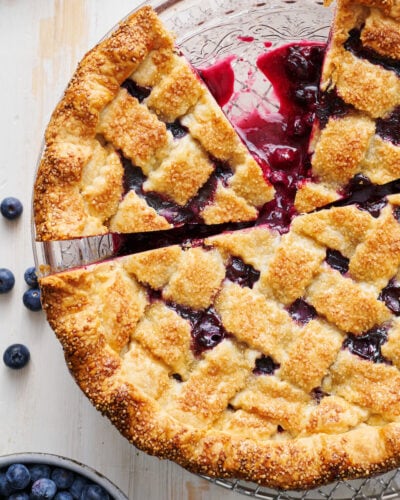
X-acto knives are razor sharp and small so they can cut right through things like pie crust, phyllo, and tortillas without damaging the rest of the food item. If you’ve ever tried slicing through something like a burrito with a dull knife, you’ll end up with smushed tortilla that isn’t photo-ready.
T Pins
Every sandwich and burger I’ve ever styled had a T-pin floating around somewhere inside. This small but mighty food styling tool gets its name because they are shaped like the letter “T”. The top of the “T” serves as an anchor to help keep things in place.
For example, let’s say you’re topping a burger patty with lettuce, tomato, and sliced onions. The way the tomatoes are placed is absolutely perfect and you don’t want them sliding around when the top bun is added. You can drive a t-pin through the stack which helps to bolster the structure of the burger. The top of the “T” helps to hold down the item on top so it doesn’t slide off the pin.
Museum Putty
Have you ever added a spoon to a bowl of soup and it wouldn’t stay in the place where you wanted it?
Have you ever set up an overhead shot with round cans and bottles laid on their sides, but they keep rolling around? If only they’d stay with the label side up easier!
Good news, they can with some museum putty!
Museum putty is the sticky stuff you put on the back edge of a picture frame to help keep it in place on the wall. It’s sticky enough to keep things in place, but not so sticky that it’s forever stuck. Museum putty also doesn’t leave behind a residue.
Pro stylists often have an array of different putties and waxes of varying degrees of stickiness and function in their tool kits.
This specific brand of museum putty is my personal favorite and great for general use.
Scissors
Scissors often go missing in our studio because my kids are constantly “borrowing” them and not returning them.
Scissors find all sorts of uses on a food photography set. We use them for things like trimming greens and garnishes and snipping off stray strings on napkins. They have myriad uses so be sure to have some readily on hand. Similar to the X-acto knife, sharper is always better.
Brush
Scattering crumbs into a scene can give you that “perfectly imperfect” look. But, it can be easy to go a little overboard. When this happens, a brush is a handy tool for wiping away crumbs in a specific spot. Dry pastry brushes or make up brushes work well and can help clear the scene without disrupting the rest of your setup.
Ruler or Tape Measure
This one isn’t quite as obvious in its application, but rulers get used often in the food preparation here at our studio. Baking recipes, in particular, often list specific measurements in inches, millimeters and centimeters.
For example, we recently photographed scones for a client. The recipe was specific in stating that the dough should be rolled to an 8 inch round in order to get properly sized scones.
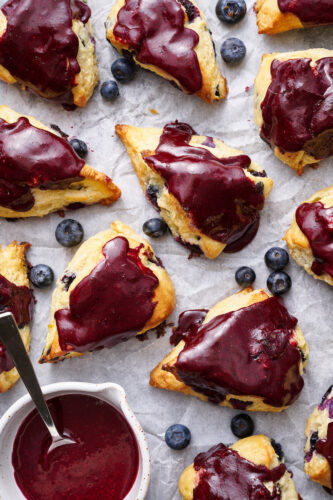
12 inch rulers are generally long enough to measure most food photography related items. But, if you want a bit more flexibility to measure longer items, a tape measure can be useful, too.
Precision is key in preparing foods like a pro.
Small Offset Spatula
Love to bake cakes? There’s a good chance you already have one of these in your kitchen tool kit. Offset spatulas are typically used for adding frosting to baked goods. They are used for that same purpose on food photoshoots but they are also helpful for moving things around in a scene with control. I especially like a small 4 inch offset spatula for getting into tricky-to-reach places in a scene.
Need to move the cake slice a quarter inch to the left? Use an offset spatula as a food styling tool!
Need to create a little more divide between two brownies in an overhead shot? Shimmy an offset spatula between them and create some room.
Grab a mini offset when something needs to be moved but you can’t fit a full spatula in the scene.
Toothpicks
Toothpicks are another multipurpose tool. There is a container next to the oven here in the studio to help check the doneness of cakes. You know the cake is fully cooked when you insert a toothpick into the center and when you pull it back out it comes out clean.
Similar to the t-pins, though, toothpicks get used to help add structural integrity to stacked food items. Piled high pancakes that are ready to topple or even fruit arranged in a precarious manner can benefit from adding a few toothpicks to help keep things where you want them.
Adding Sparkle with Water and Oil
Food looks tastier when it sparkles. Fresh strawberries speckled with water droplets look juicier. Salad benefits from a spritz to help greens look lively and crisp. A steak looks a little more mouthwatering with a little bit of shine. Some stylists get super fancy when adding sparkle and shine to foods, but we keep things fairly simple at our studio. The two must haves we use on every shoot are a small spray bottle with water and a ramekin of oil with a pastry brush.
Spray bottles come in a wide variety of sizes and, more importantly, put out different types of mists. Many pro stylists who work on advertising photoshoots have a number of different spray bottles that they use for different applications. They have one for bigger droplets, another for smaller drops, and another for fine mist. I prefer this particular one that gives a nice even mist of tiny droplets for general purpose use when something needs a touch of moisture to make it pop. Some stylists will also add vegetable glycerine to the water in a 1:1 ratio when they want the water to bead up and hold its form for a while, like droplets on the skin of a vine ripe tomato.
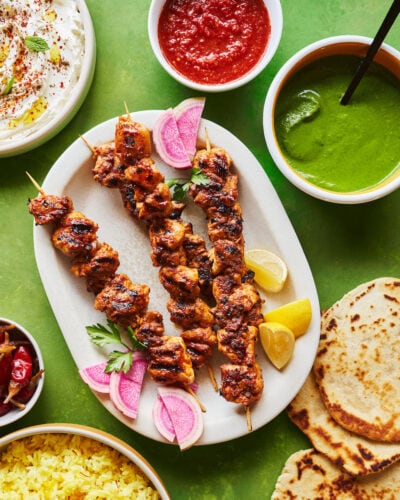
There are some foods where a bit of a glossier shine is preferred. Instead of a spritz of water, you can fill a ramekin with a light neutral oil like grapeseed or avocado oil and use a pastry brush to selectively apply it to your foods. We recently did this when shooting some chicken kabobs. We saw the opportunity to brush on a little extra glisten on the meat to tell viewers that the food was moist and flavorful.
Tweezers
We’re back to talking about precision once again. Tweezers are the perfect tool when you need to remove or adjust something small on set and don’t want to disrupt your otherwise perfect scene. You can precisely move things like a piece of mint garnishing a dessert or remove an errant tomato on a wedge salad.
I’ve grown accustomed to using the kind used by fancy restaurant chefs. They’re longer than tweezers found on the beauty aisle in the drugstore. This gives you a longer reach which can be helpful when fishing something out from an awkward spot on set.
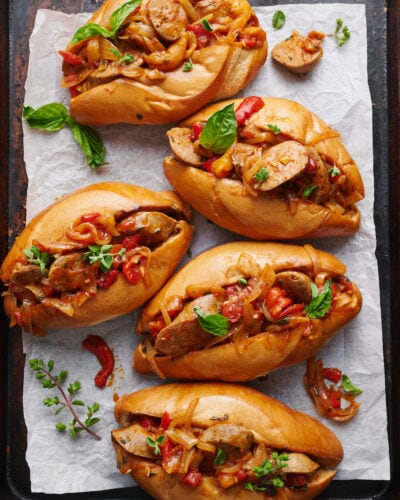
They were the right tool for the job when we needed to move one of the sausages in these deliciously styled sandwiches so that we had a proper sausage to pepper to onion ratio.
Makeup Wedges
This might be my favorite food styling tool on the whole list. They are hiding in so many of the food photos I’ve captured over the years.
Setting up this brownie shot, for example, we wanted the top brownie to tilt over so slightly toward the camera. I wanted the crinkly top to be visible while also showing off the fudgy sides. The stylist nudged a little bit of the wedge under the top brownie to lift the back slightly and we got the shot.
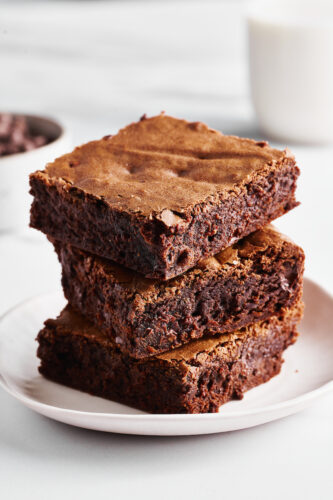
This particular brand is my favorite because they are thick enough to give enough lift when it’s needed and isn’t too squishy. Some cheaper brands are thinner and squish so much that you need to layer a bunch of them to make a difference.
Lint Free Paper Towels
The number one thing that gets used during every single photoshoot at our studio is paper towels.
They’re awesome for keeping herbs fresh. Simply soak the paper towel with water, wring it out, place your herbs in it and roll the whole thing up and keep it in the fridge. This helps to keep your greens perky on shoot day before they’re ready to be used.
Other uses include:
- Soaking up excess juice from meat that’s starting to pool after it’s been plated
- Drying rinsed raw chicken and seafood before it’s ready to be cooked
- Spot clean-up on set when you need something absorbent
- Placing a damp towel over cut lettuce while it waits in the fridge before it’s ready to be used
- And we recommend lint-free so that when you’re cleaning up you’re not adding extra mess to the scene with little white specs of lint.
Those are all of our top favorite tools for food styling. Truth be told, though, every stylist and every photographer develops their own list of favorites over time.
Figure out what works for you and embrace your own process.
There’s no one singular right way to do things in food photography. If the food looks good and the people looking at the food want to eat it, you’ve accomplished the highest goal in our industry.


