It’s fun (and affordable!) to make your own Do-It-Yourself or DIY food photography backdrops at home! With the right supplies and a creative vision, you can have a whole library of surfaces to choose from.
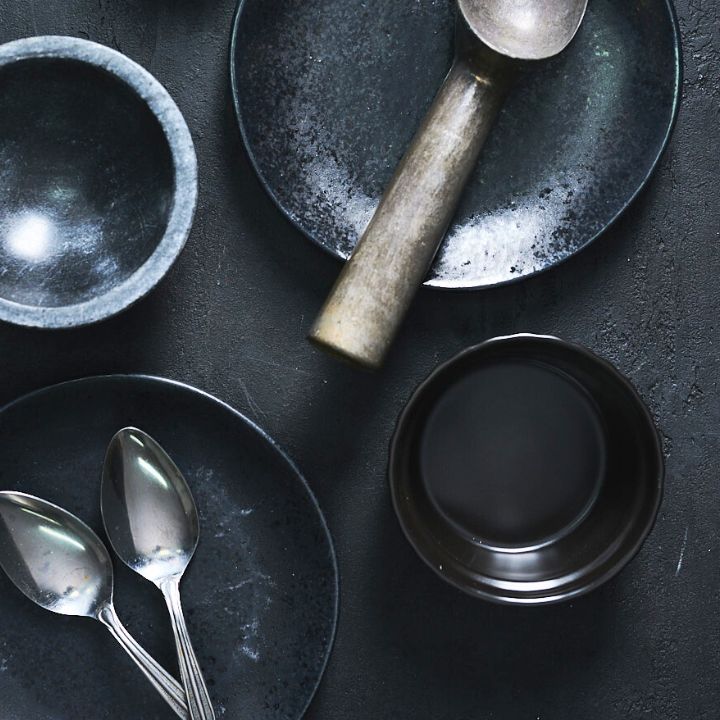
Backdrops are such an important element of food photography. The colors and textures of the surfaces can help make an image more interesting. How? They communicate mood, provide contrast, and help draw the viewer into the food. Simply put, they can make your food pop!
Getting Inspired
I like to have a plan before creating a board. You can collect inspiration images of backdrops, colors and textures from magazines, cookbooks, and out in the world. You can save images you find to a Pinterest board like this one.
Study the texture, the tones, the colors, and the overall effect. Then keep those things in mind as you go shopping for supplies, especially when picking out the paint.
Supplies for DIY Food Photography Backdrops
Here’s what you will need:
MDF Board (Medium Density Fiber Board) 1/2 inch thick – 2ft x 4ft
This is my favorite size of board because it’s wide enough for most top down shots to fill the frame. At the same time, it’s also small enough that they’re easy to move around my studio. It’s also thicker than some boards so it’s less prone to warping. Super heavy or very large backgrounds can become cumbersome to move on set and to store.
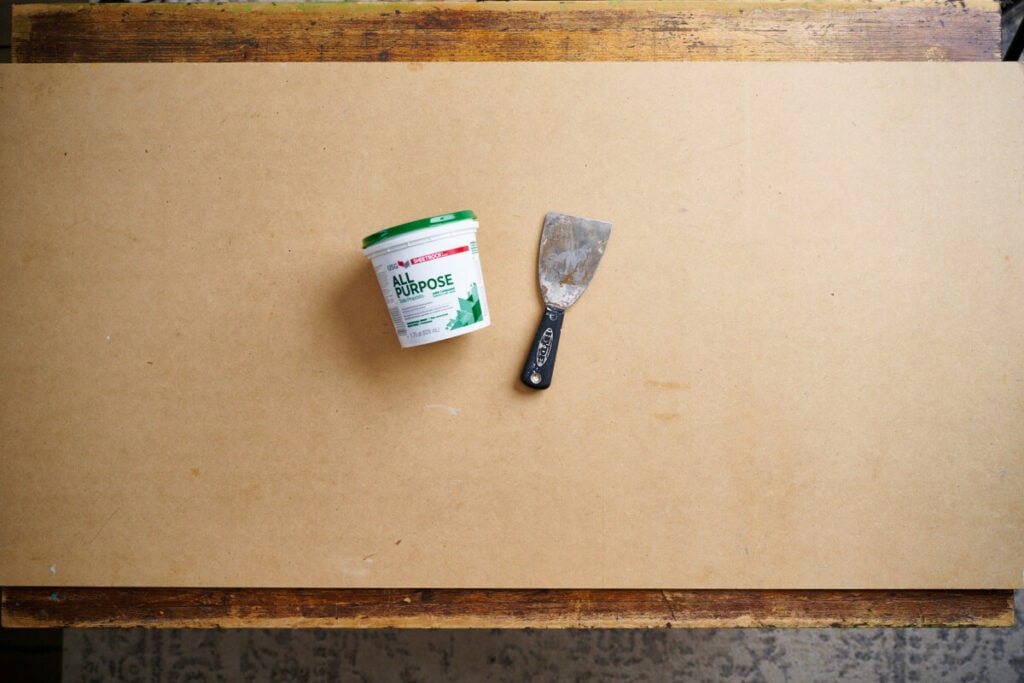
Joint Compound and Putty Knife
Joint compound is used when drywalling a building. In this case, we’re applying the joint compound to our MDF board to add interesting texture. If you study food photography backdrops you’ll notice that subtle texture adds visual interest to the image.
First, I spread a thin layer of joint compound on the MDF board with a putty knife, or joint knife. These will always be nearby on the aisle where you buy joint compound.
Next, I smooth it around, adding more joint compound and then scraping some away. I want the whole board to be covered so that no more MDF board is visible.
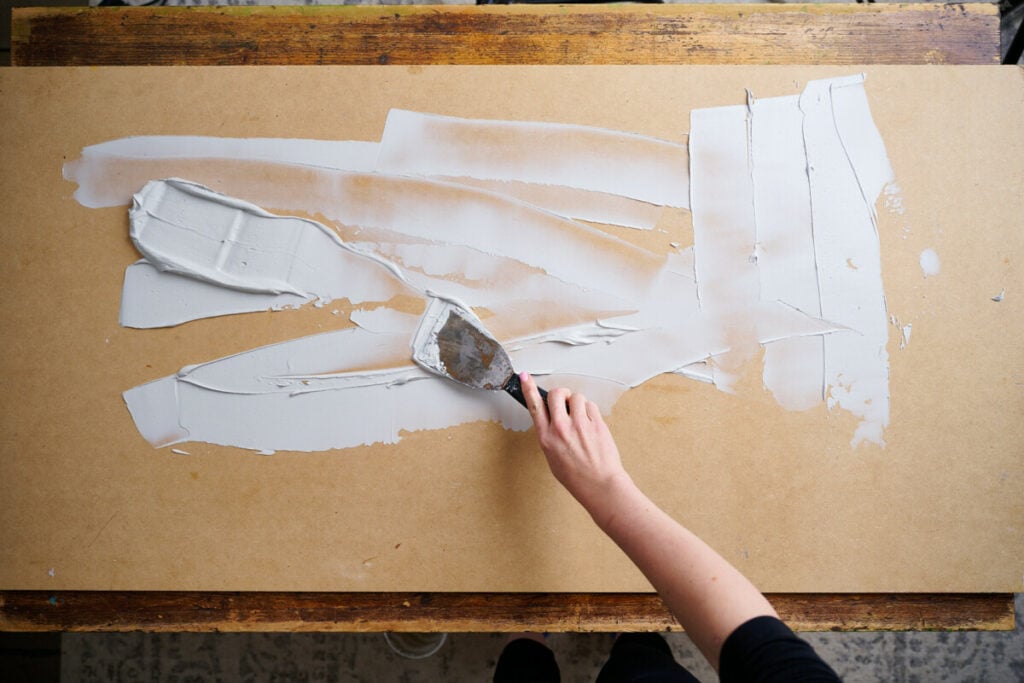
However, I am careful not to overbuild the texture. To me, a little subtle texture is ideal. If there is too much texture and bumps in the joint compound, it will be hard for plates and bowls to rest evenly on the surface when you go to shoot on it.
Once the first layer is down, I move a clean knife around it in criss-cross patterns to reveal irregular patterns.
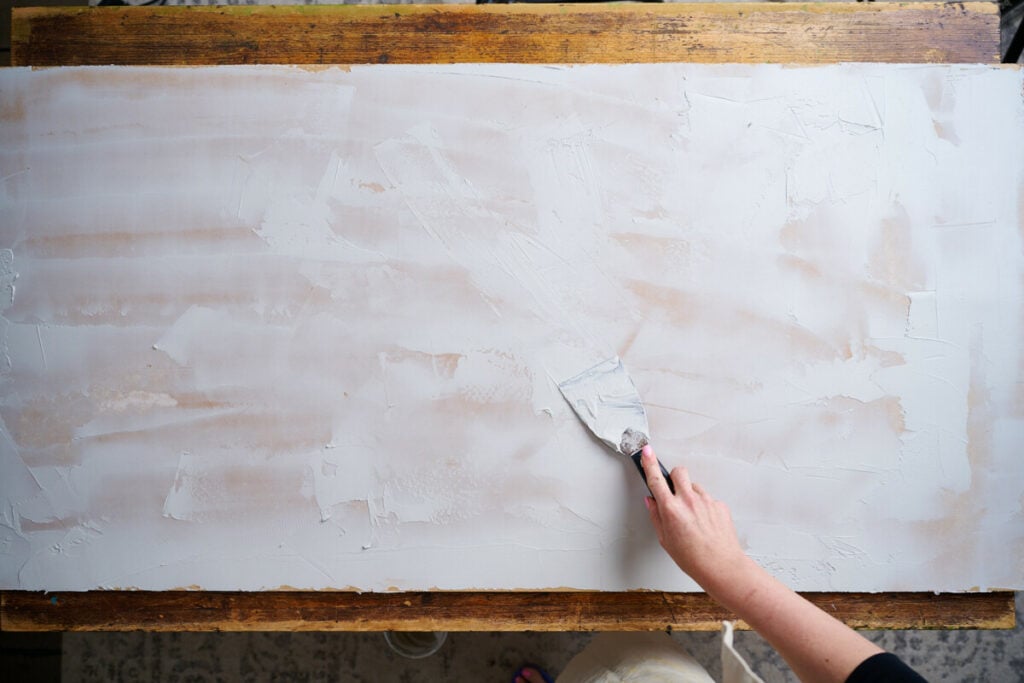
I’ll also softly drag the putty knife across the surface of the joint compound. This reveals little bubbles and jagged spots which can be visually appealing.
You can also press towels, found objects, and other things with texture into the drying joint compound. Each object adds it’s own unique little patterns and imprints.
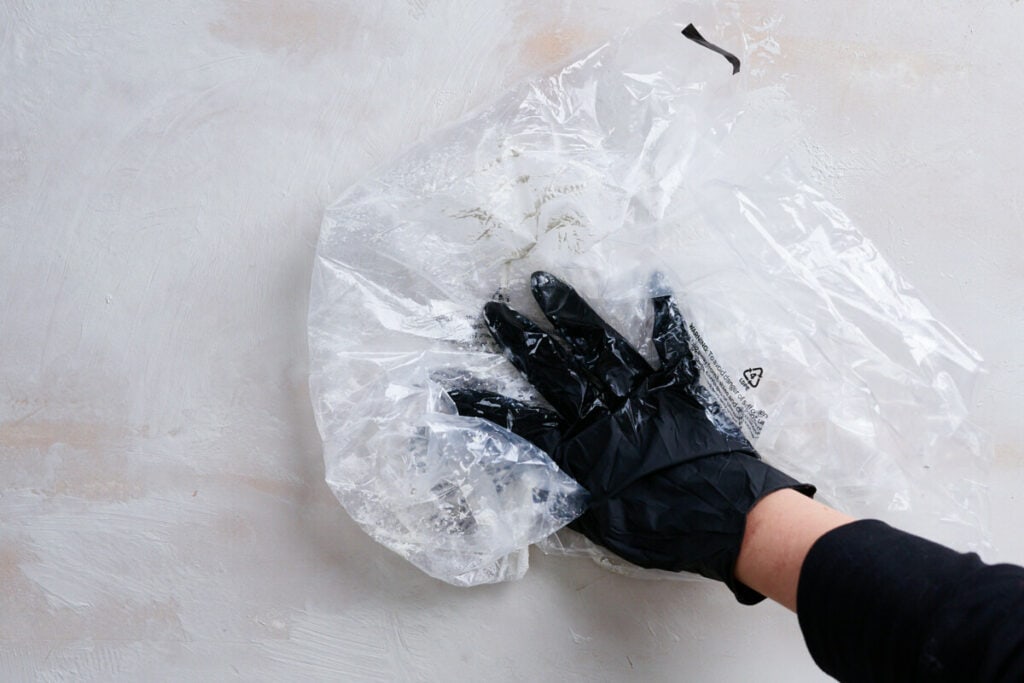
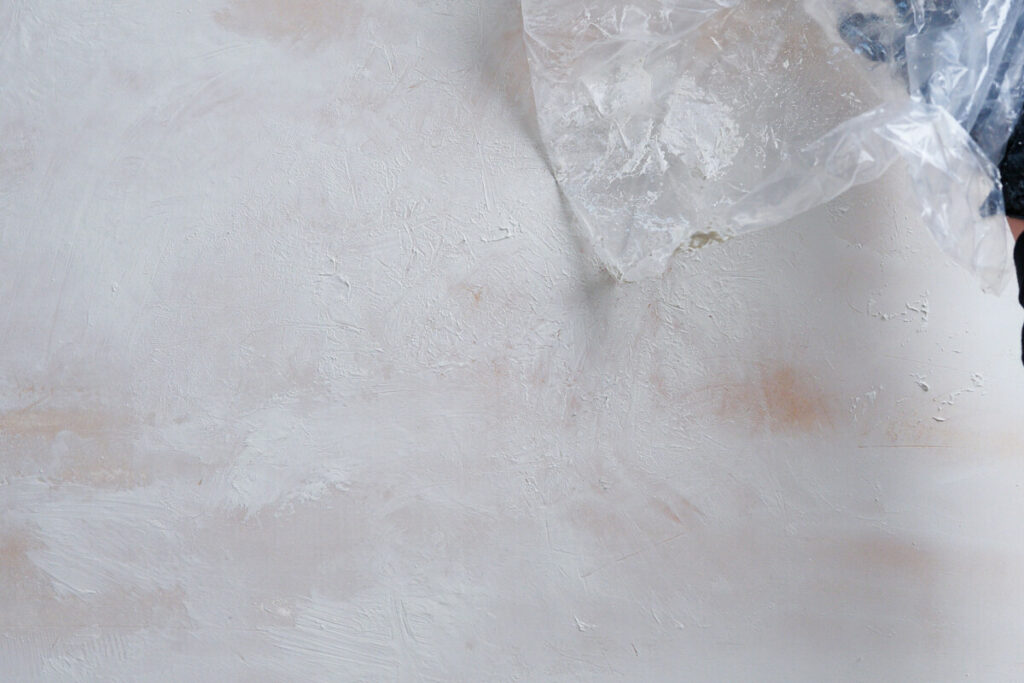
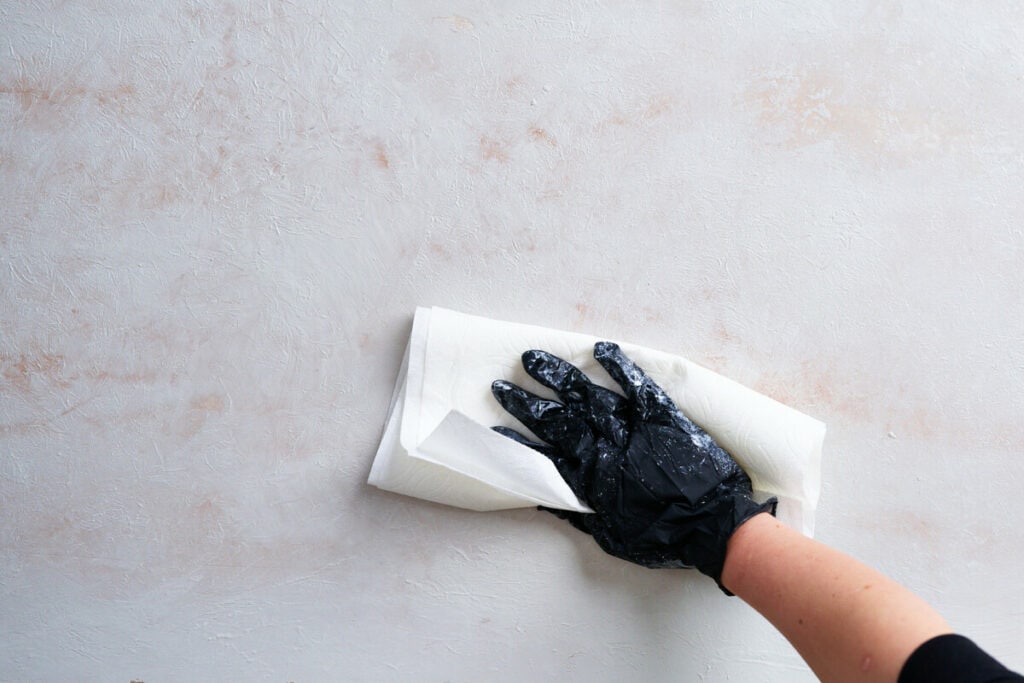
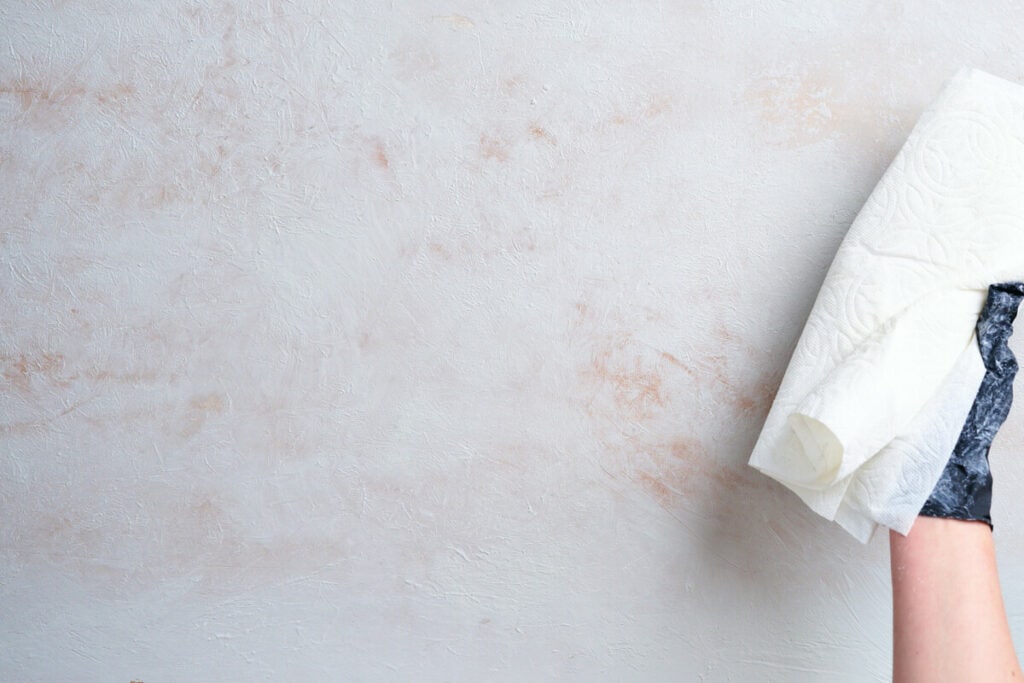
I continue to add joint compound as needed or scrape it away in spots where there’s too much. The pattern is like this: Add some, take some away. Build it up, take it down. Working layer by layer, you’ll eventually have nice texture across the entire board.
Once all of the joint compound is down, allow it 24 hours to fully dry before adding your paint. If the joint compound is still wet when you apply the paint, you’ll risk destroying the beautiful texture you worked so hard to create.
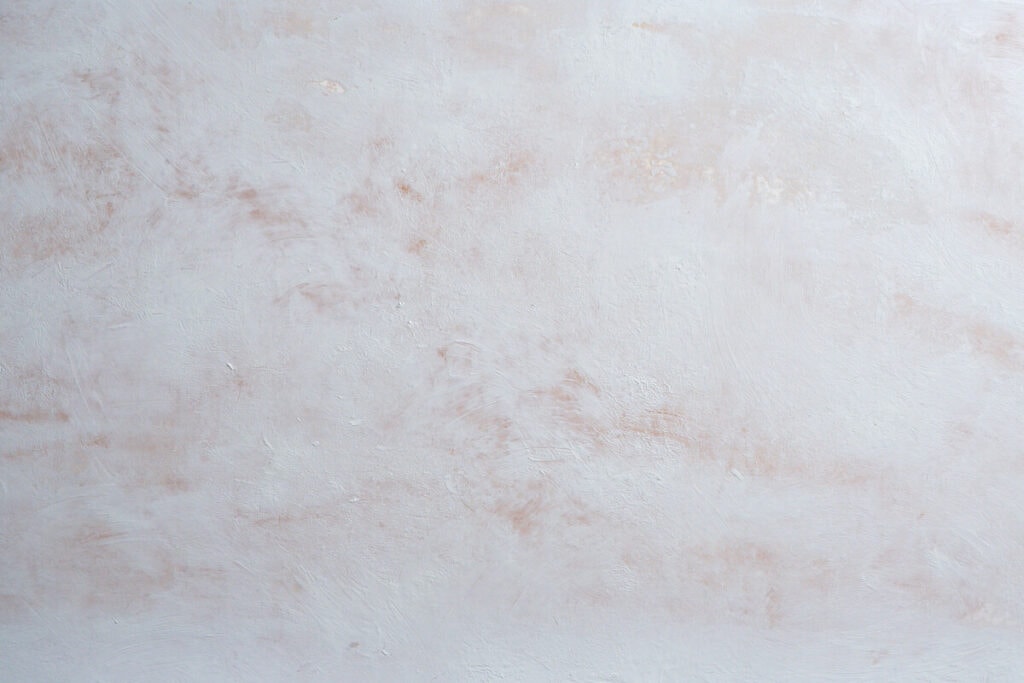
Paints for DIY Food Photography Backdrops
I really like working with matte paints for my backdrops. They produce minimal glare in my images and add a luxurious, organic quality to the scene. I particularly like the Suede Paint from Deco Art because of the super matte look it has. This is especially true when working with highly saturated colors like this red.
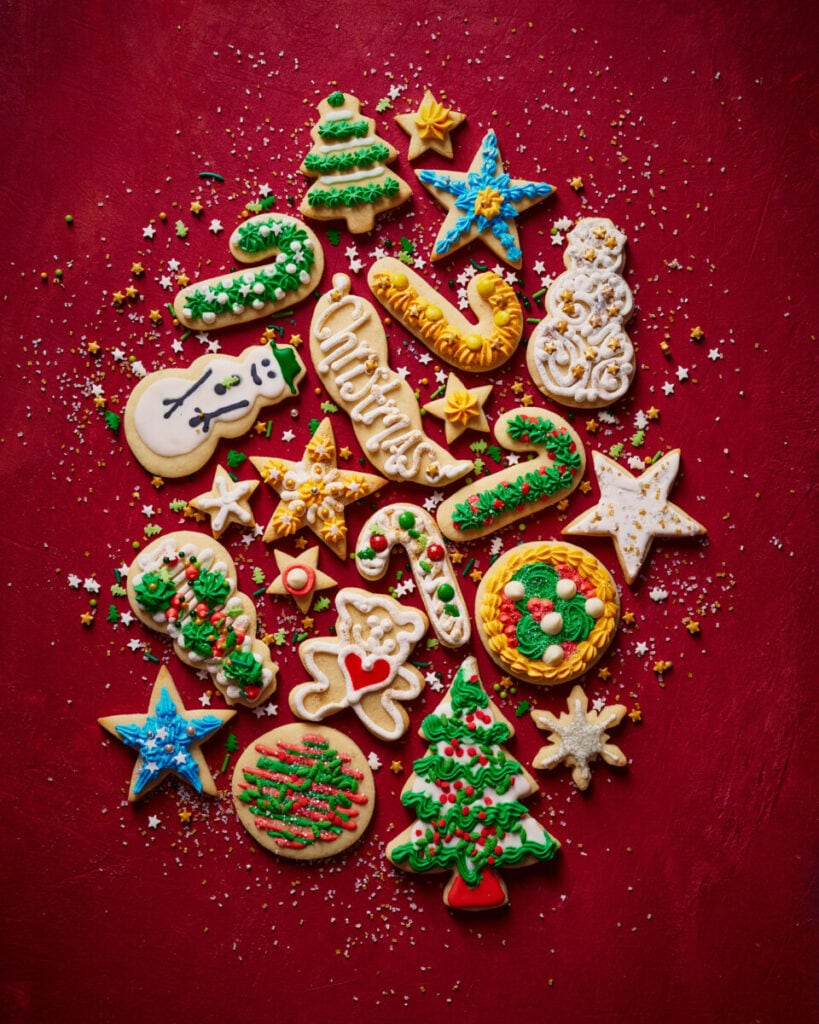
Chalk paints are also super popular for arts and crafts. They have a similar ultra matte effect and blend nicely when combining several colors to a surface. I have been very happy with the quality and price of the chalk paints from Folk Art.
Even if the overall look of a board is one single color, I still purchase a variety of analogous hues. These are colors that are next to one another on the color wheel. For example, I may use yellow, green and blue as paints for a blue surface. Why? Hints of other colors create more visual interest compared to one shade all by itself.
No need to crazy with paints, though. Four to five paint colors is really all you need to achieve the board color you want! In addition to my color paints, I also like having a white and a black paint on hand. I use these to blend with my colors to get darker and lighter color values.
I use a sponge or a brush to apply a first base layer to the board. This base layer is often a lighter color than my intended final board, but is meant as the backbone on which to build up other colors. The base will peek through in spots as I add more colors, move paint around and add layers.
Keep reading to watch the evolution of color and texture!
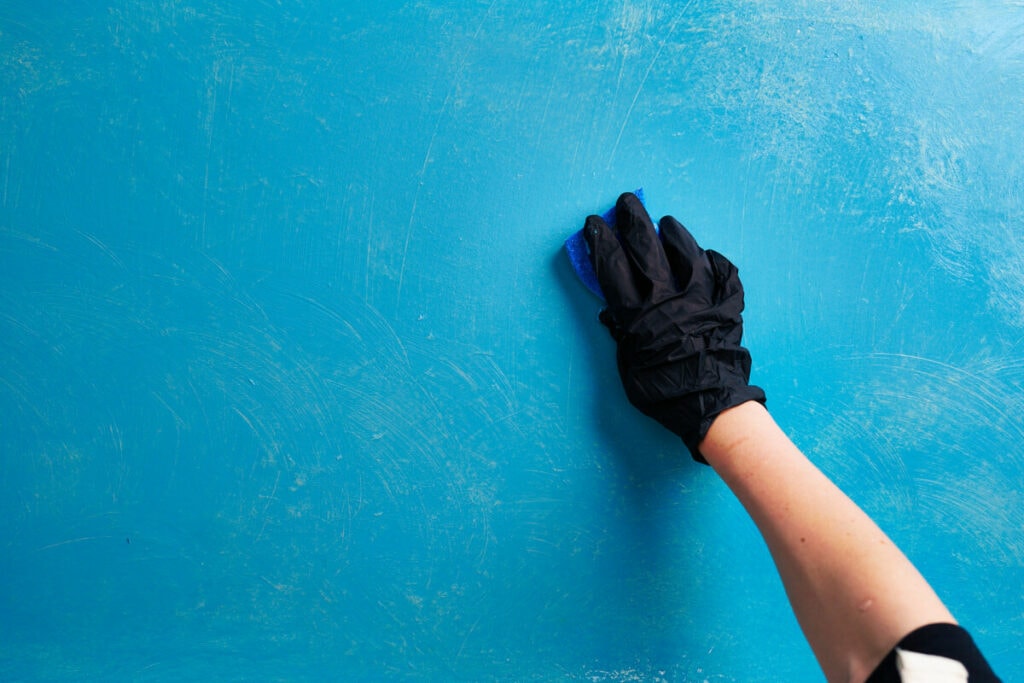
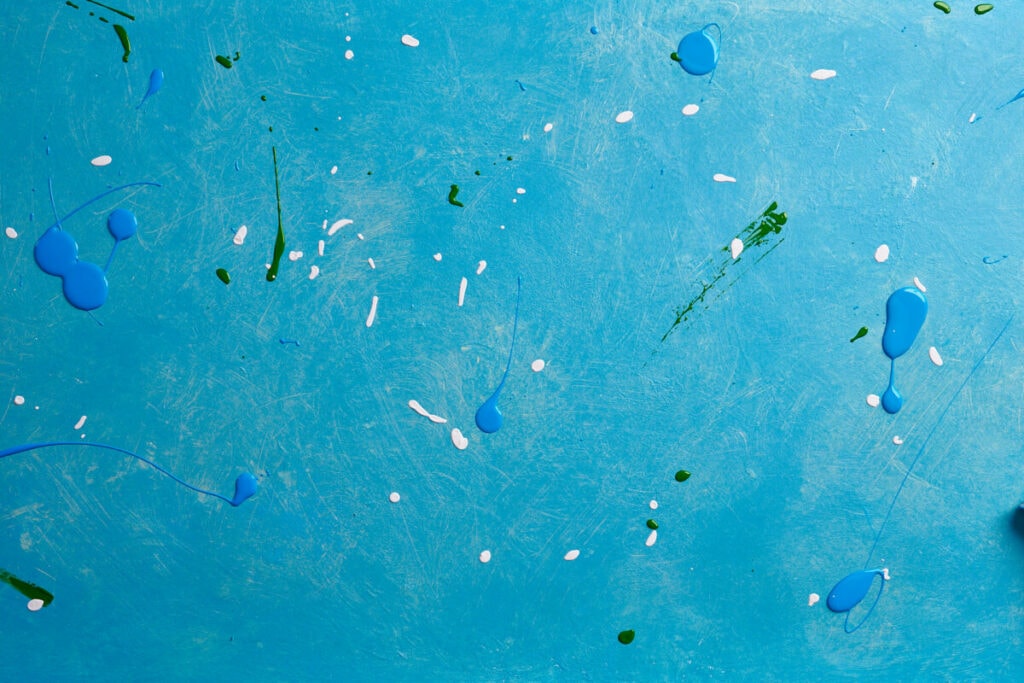
You can also see that I frequently ditch a painters palette. Instead, I simply drizzle paint directly on the surface and move it around, adding more paint layer by layer.
Similar to the joint compound, it’s the cumulative effect of layering paints that makes finished backdrops so interesting.
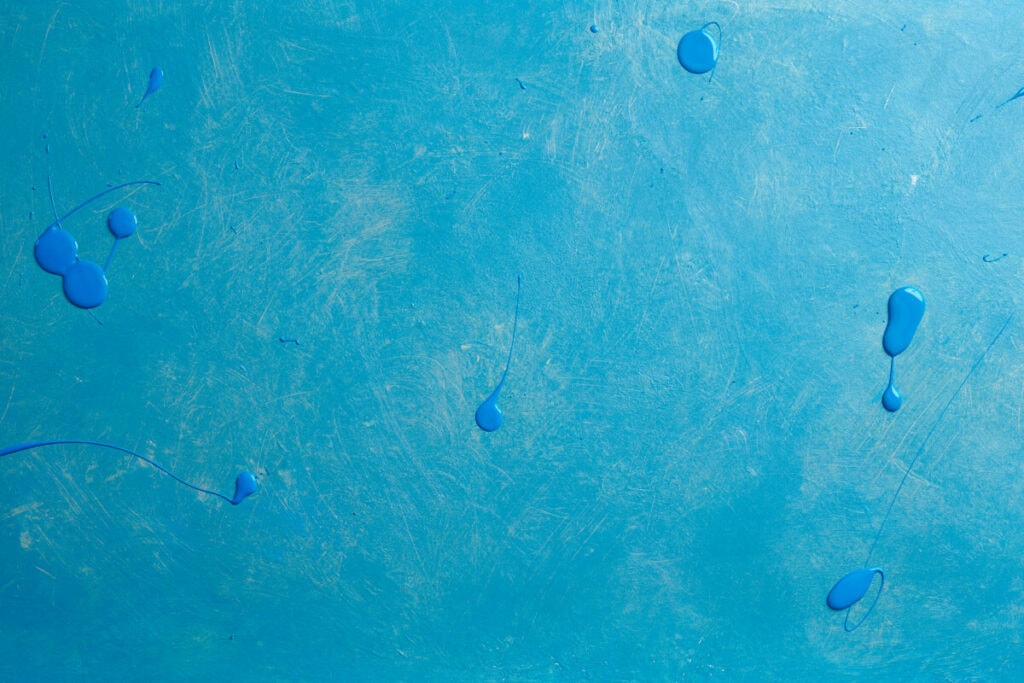
I wanted my final board to have more of a turquoise quality, so I added more green, white, and blue. As I spread the colors together they will begin to mix to create new colors and intertwine in interesting patterns and textures.
Many of the techniques I use on my DIY food photography backdrops, I picked up from painting classes. I’ve even watched painting tutorials on sites like YouTube and Skillshare. Painting classes not only will help you expand your skills in background making, but will also help you better understand color theory and lighting. Even if you think, “I’m not an artist!” there is great value in taking a few art classes and lessons.
For example, a popular painting technique of cross-hatch is moving the paint around in a criss-cross manner, swiping the sponge and brushes in opposing directions.
I also do some blending. To blend, softly smooth areas of the board so that the paint more fully mixes. This will give a softer, subtler color effect.
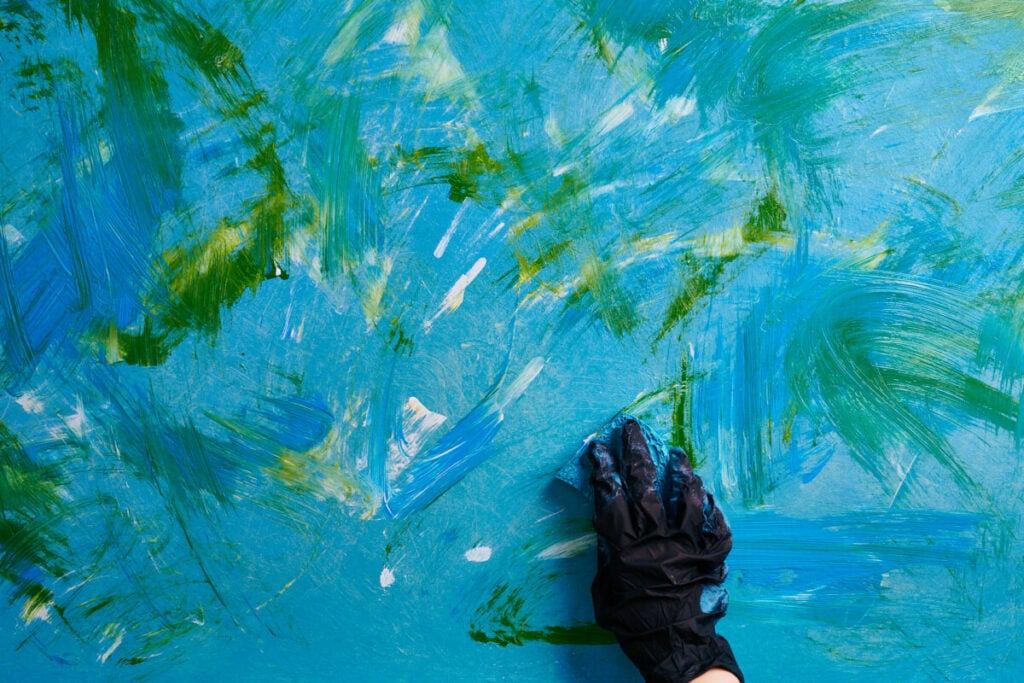
And then more paint, and more blending. More paint, rinse, repeat…
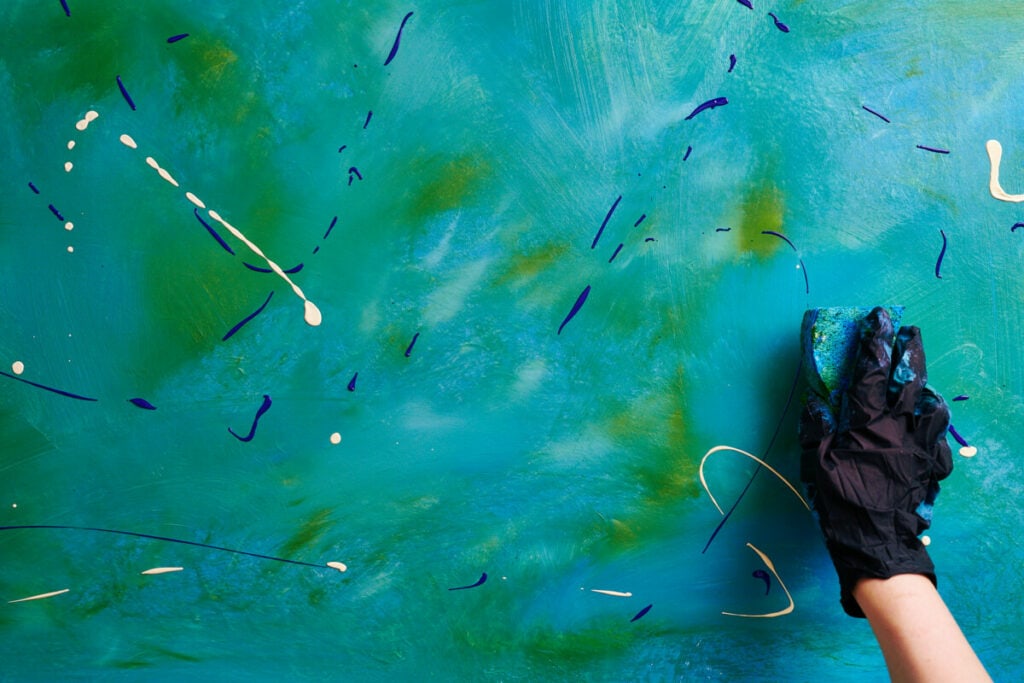
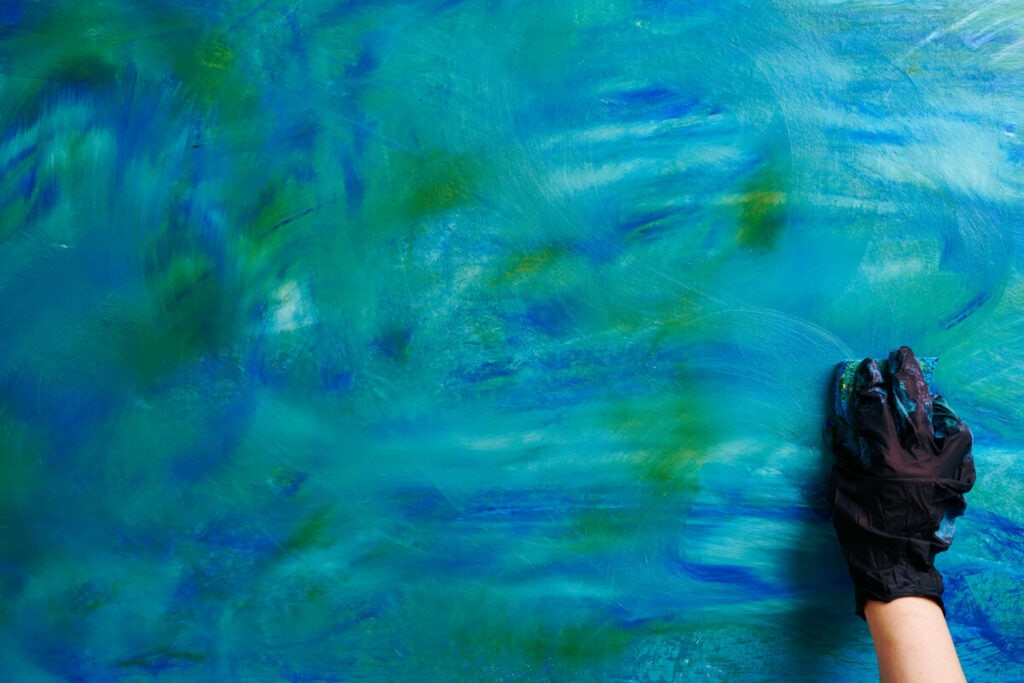
Once I’ve built up a lot of colors, I love to drizzle water over the surface, creating a splash effect. Just like watercolors!
This was inspired from looking at rusted metal that has been weathered. I like the effect that water has, revealing unexpected patterns and a splotchy quality.
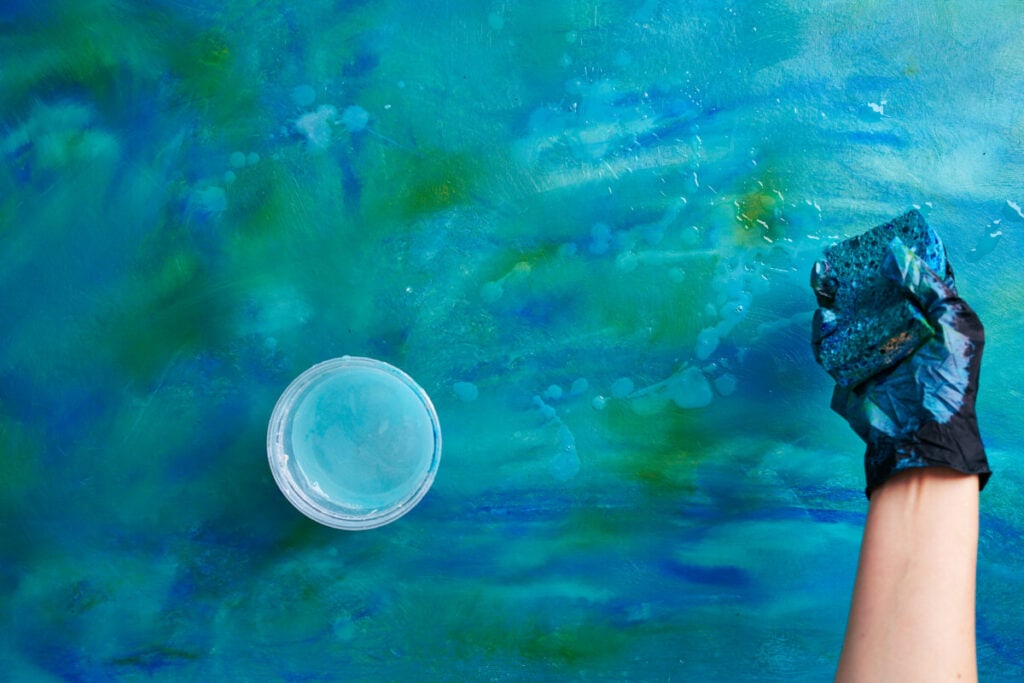
This same exact process continues, layer after layer.
Then I walk away from the board for a bit to allow it to dry. Colors tend to change when the paint goes from wet to dry. Each color will be unique in how it changes, though I find they often come across more subtle and soft once they’ve dried.
As you can see in this particular board, I returned to it and decided I wanted a deepr blue, but still with the turquoise peeking through. The best part about making your own boards is how easy it is to make a change. If you don’t like the direction it’s going or want to change, it’s simply a matter of adding more paint.
Here’s the board after adding several more layers of paint but while it was still wet.
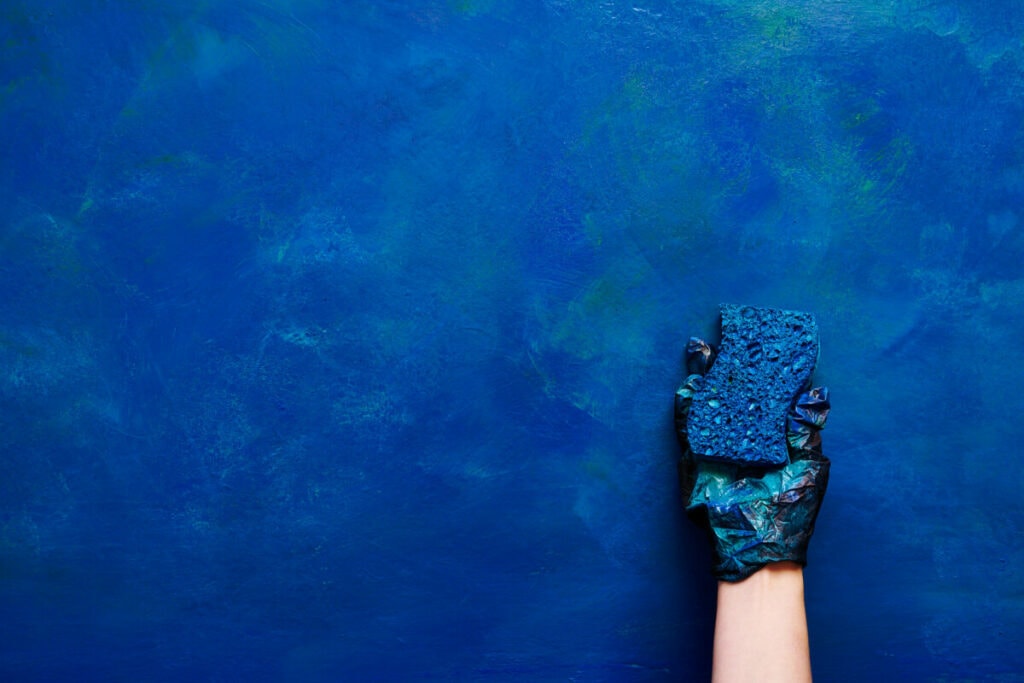
This is the same exact board, no other changes other than the paint was dried. See how much the colors shift!
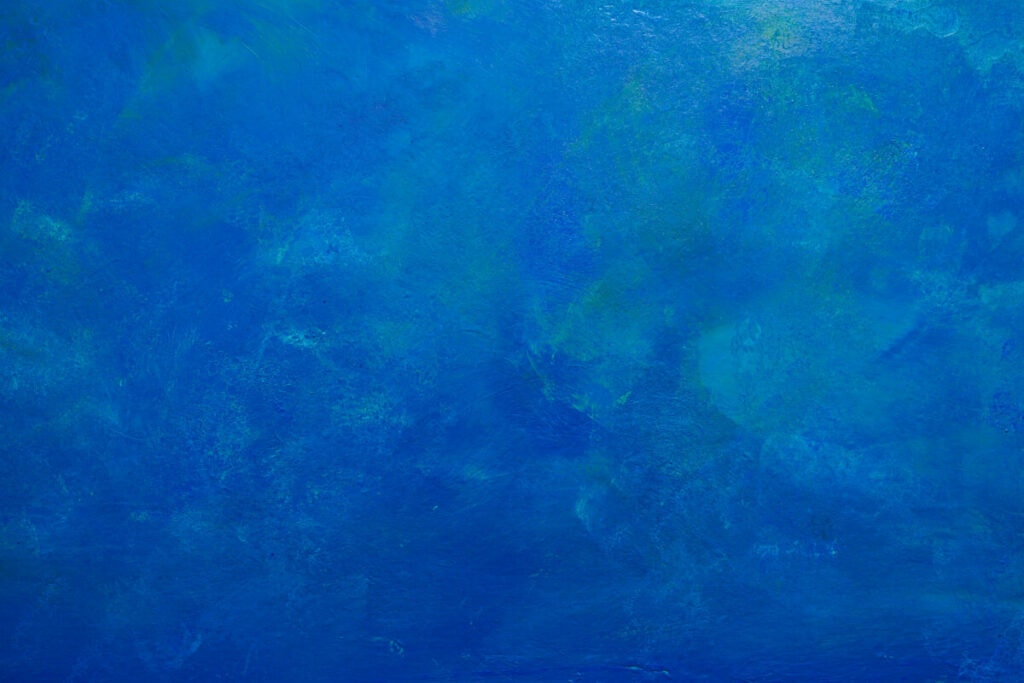
That’s why it’s important to allow plenty of time between steps. Drying, revisiting, and continuing to build up color and texture can take a while. Eventually though, you’ll arrive at your final masterpiece!
Matte Sealing Spray
Once everything is finished and dried, the final step is to seal it with a matte sealing spray. Matte ensures that you won’t be adding any additional glare to your beautiful matte painted board.
Do note that these sealing sprays are not a guarantee of protection for the board. If you spill red wine on a board, regardless of if its sealed, the wine will stain. But, the good news is that you should still have some supplies left over, and can paint right over the stain!
Other Sources for Food Photography Backdrops
I have shared a number of other videos and resources about food photography backdrops. Not everyone loves making their own backdrops.
- An older version of my DIY Food Photography Backdrop process
- How to make DIY wood Backdrops
- My favorite purchased backdrops
If you’re looking to purchase a backdrop, check out some of my favorite quality retailers.
- Erickson Surfaces (use BITESHOT10 for 10% off)
- Capture by Lucy
- Woodville Workshop
- Best Ever Backdrops (use BITESHOT15 for 15% off)
- Food I Fancy Backgrounds
- Fondos Para Fotografos
- Bessie Bakes Backdrops
- Club Backdrops
- V-Flat World Duo Boards


