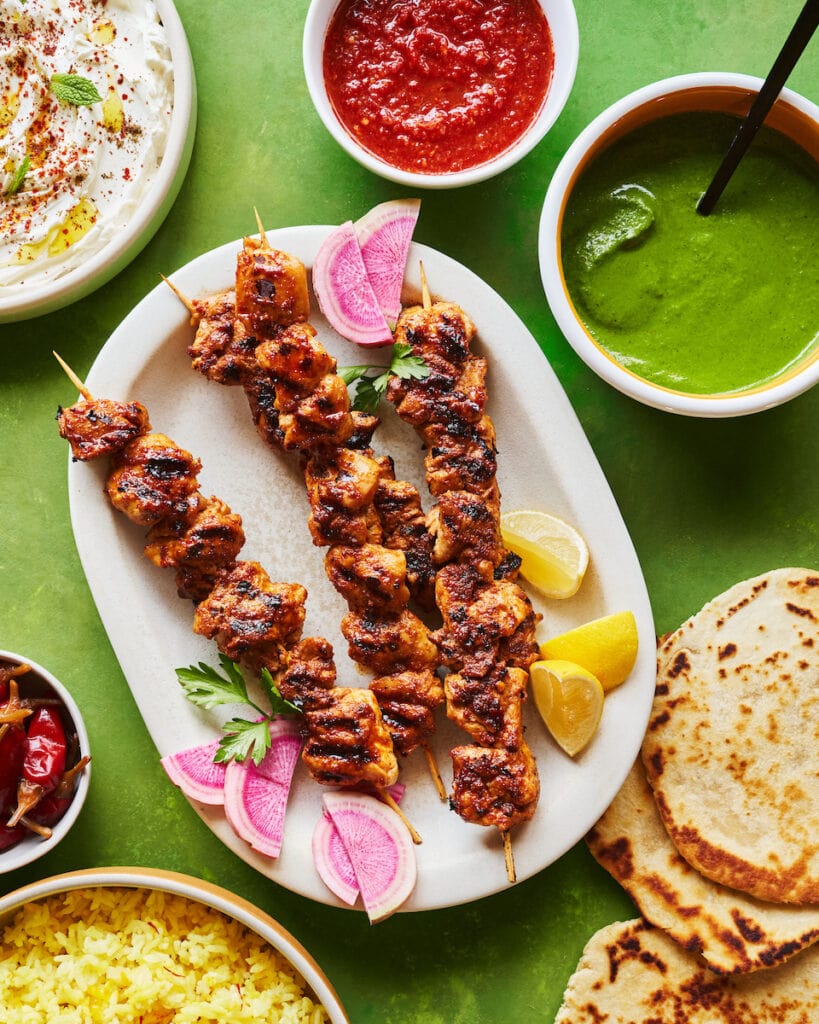
Want to go inside the studio, behind the scenes, of a natural light food photography shoot? Let’s go through the who, what, when, where, why, and how that went into creating this image.
Who: Joanie & Brendan
Brendan McCaskey is a food stylist here in Phoenix, Arizona. We first connected years ago through my old food blog. We then reconnected in 2021 when I started working with a local client who had hired him as the stylist for her shoot. We hit it off quickly and I really appreciated his approach and eye for styling food.
He is a trained, professional chef and worked in the restaurant industry in fine-dining establishments prior to becoming a full-time food stylist. He’s an outstanding problem solver and highly adaptable thanks to years in the fast-paced restaurant environment. As much as we do a great job planning our photoshoots, unexpected things happen on set. It’s great to work with people who can be flexible and stay cool under pressure.
Searching for Stylists
Hot Tip: Stylists, like photographers, have areas of specialty and expertise. Different stylists have different strengths. Some have more of an eye for magazine work, something that feels natural and relatable. Others have more of an advertising skillset, making food look perfect, like the burgers on billboards. There are also food-specific skills that a stylist might have. There are stylists, for example, who are experts in ice cream or drinks.
It’s important to me before bringing a stylist into a job to understand their particular skill set, view their portfolio and gauge if they’re the right fit for the work that needs to be done. However, most of the stylists I work with have a wide range of skills and can do a lot of different kinds of jobs.
I chose to work with Brendan for this particular shoot because at our last client shoot together we talked about doing something with bold colors and happy summer vibes. This was a self-assignment shoot for both of us to have fun collaborating together and to add some new bold shots to our portfolios.
What: Chicken Kabobs
I posted a poll on YouTube asking if people would rather see us style kabobs or meatloaf. I was surprised that kabobs were the clear winner considering how difficult meatloaf can be to style and photograph. Don’t worry, we’ll be sure to get to meatloaf in a future shoot!

Brainstorming the Shoot Concept
Brendan and I brainstormed the concept on a call together.
We landed on marinated chicken kabobs with a bold, red, harissa sauce because I wanted to shoot this on the green backdrop from the DIY backdrops tutorial. It was important to us that the scene feels celebratory and filled with lots of additional elements to complement the kabobs.
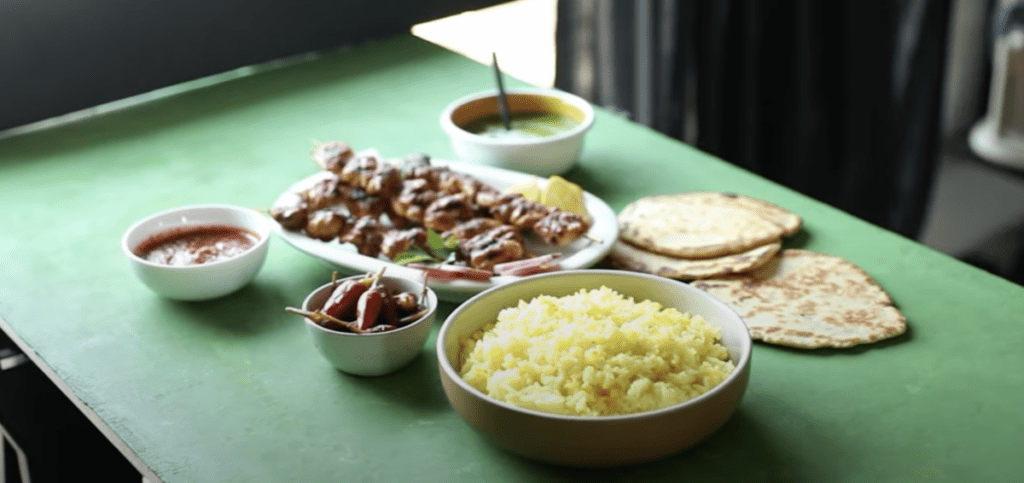
Keeping color in mind, he also planned to make yellow saffron rice, charred flatbread, a bright green herb sauce, and a creamy labneh. If you’ve never had labneh, it’s Greek yogurt that has been drained in cheesecloth so that it’s extra thick and creamy.
Choosing Props
The day of the shoot, before he started cooking, we talked through the props. Brendan brought some platters and bowl options from his personal collection and we landed on an organic off-white platter from Pottery Barn.
There are often dedicated props, stylists, in larger cities and in bigger productions. In this case, Brendan and I are both props fanatics, so it’s usually a collaborative effort between the two of us.
When: Daytime
We shot in natural light for this shot, so we knew we had to shoot during daylight hours. This particular shot was captured at around 12 pm. And yes, we got to enjoy the kabobs for lunch!
Where: In the Studio
Did you catch the DIY backdrops post? You might have noticed that I had a hard-light version of this same image.
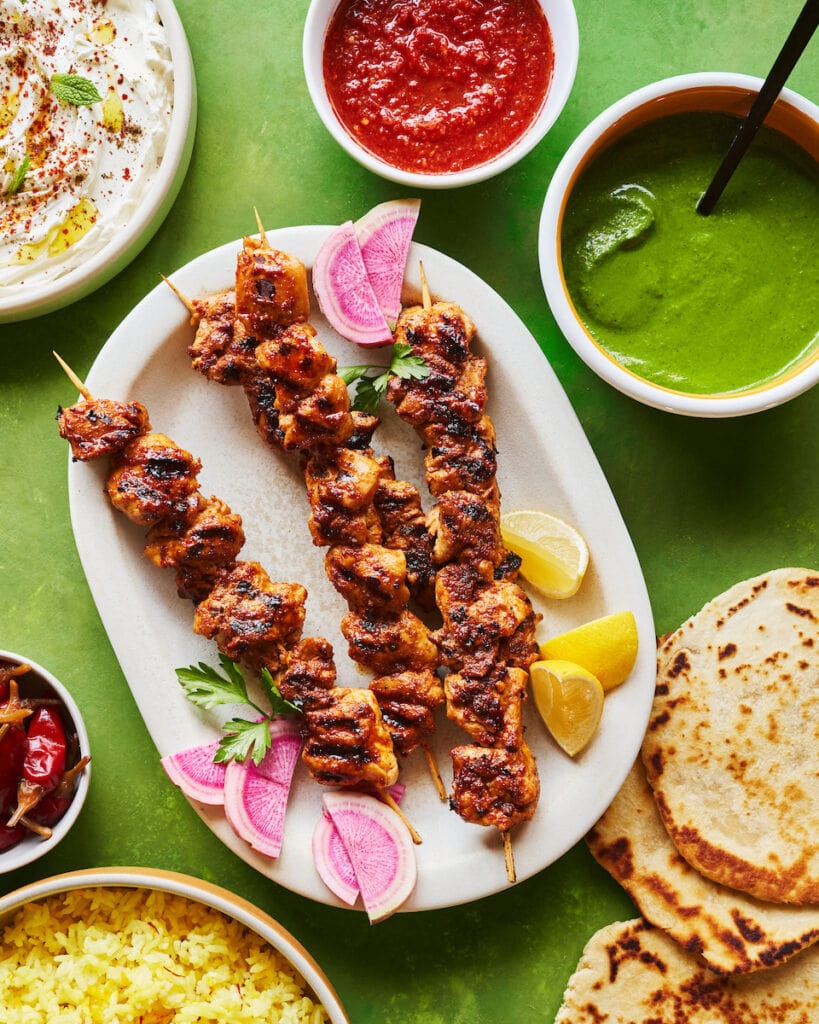
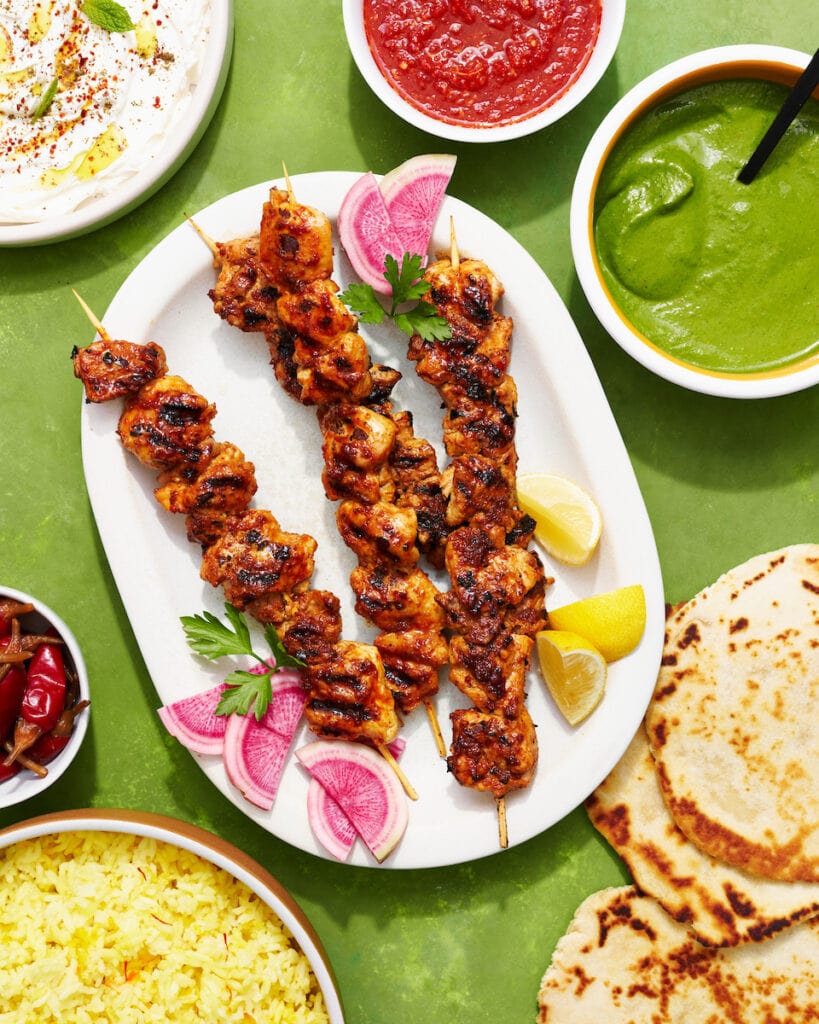
We define hard light by looking at the transition from dark to light in the shadow areas.
You can see in the hard light version, that it’s a quick transition from dark to light in the areas where there is shadow.
In the soft light version, it’s a more gradual transition from light to shadow.
Hard light has been a popular trend in food photography and is produced by a small, direct light source shining on a subject.
For example, if you set up the food next to a window where there is a direct line of sight from the food to the sun you will notice hard lighting on your scene. Granted, the sun is very large, but it’s very very far away, so it’s small in relative comparison to the subject. Small, direct light source = hard light.
Soft light, on the other hand, is produced most readily by a large light source. In natural light, this most often occurs when the sun is not shining directly through the window, but instead is shining indirectly through the window so then the window becomes the primary light source. Relative to our food, a window is much larger and thus is creating softer light. And the larger the window, the softer the light.
Large, indirect light source = soft light.
Which Window Did We Use?
I don’t have any windows that produce hard light in my studio. Natural hard light only happens with east-facing windows in the morning or west-facing windows in the afternoon when there is a direct line of sight to the sun through the window. I only have north and south-facing windows so the sun is overhead the building all day, giving us indirect light only.
So how did the hard light photo happen? We shot this scene twice. Once with natural light and once with artificial light.
To shoot hard light with artificial light you simply need a bare light, like an LED or flash. We go in-depth on this method and different ways to wield hard light inside of Artificial Academy.
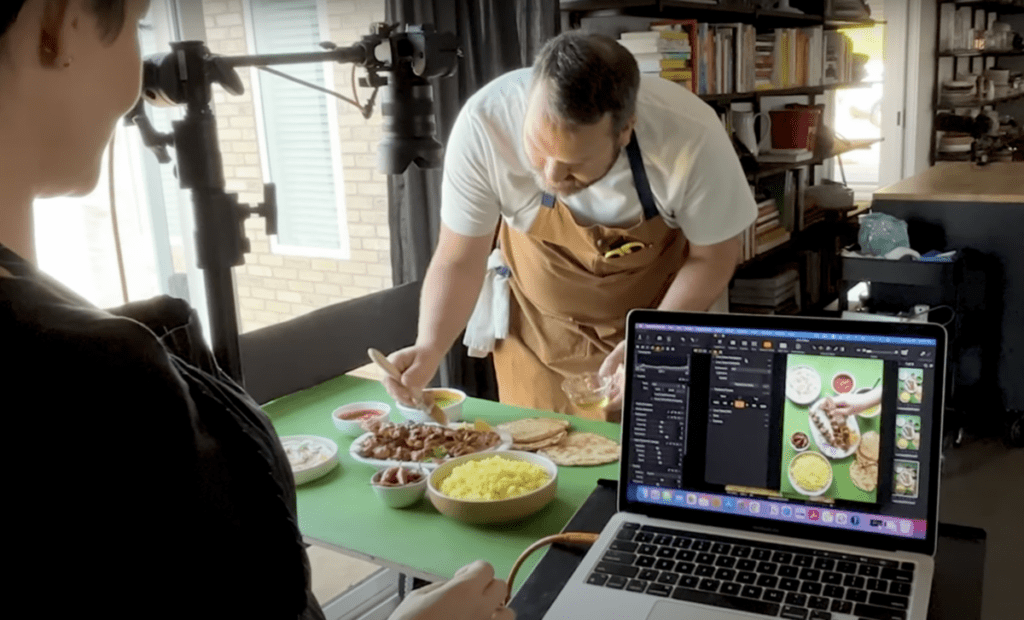
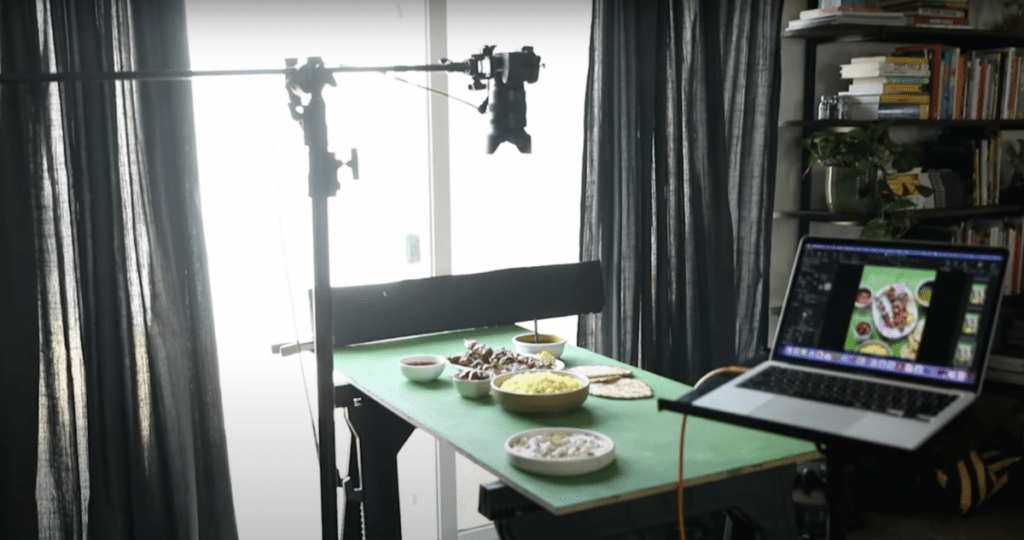
All that said, for the natural light shot, we used my large north-facing window to produce soft lighting for our scene. I set up two sawhorses and my backdrop next to the window while Brendan prepared the food.
Why Did You Do That?
Perhaps you asked yourself, “why did she do that?” Here are a few of the reasons why I set things up the way I did.
Mounting the Camera Overhead
The camera is mounted overhead on a c-stand with a monopod head and an adapter. You can watch this video for more detail on setting this up.
I do this for two reasons.
One, it gets tiring continually jumping up and down to get overhead shots.
Two, when shooting tethered, having the camera mounted overhead allows me to be at the workstation checking out the scene without having to hold the camera.
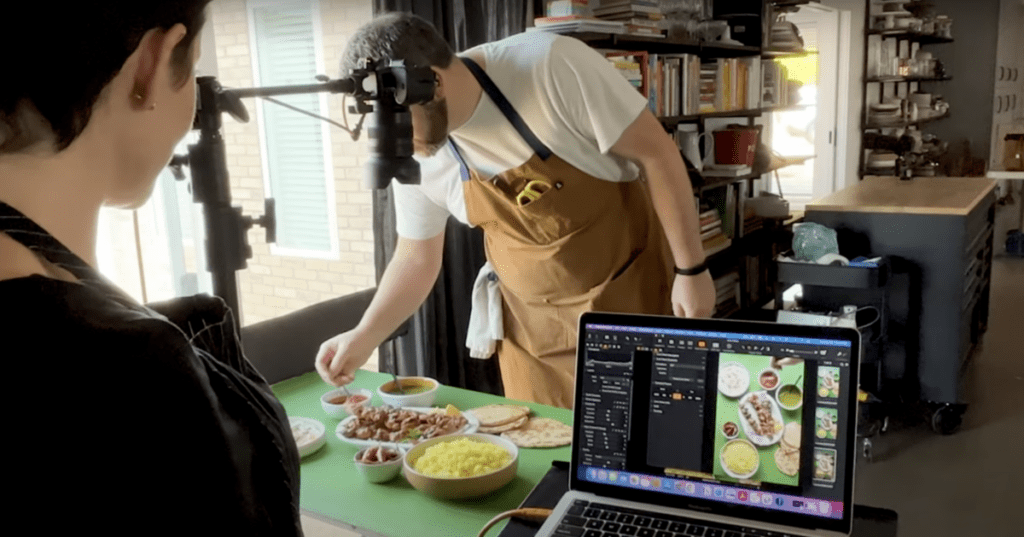
This is also helpful for Brendan to be able to see how things are looking on set and make styling adjustments.
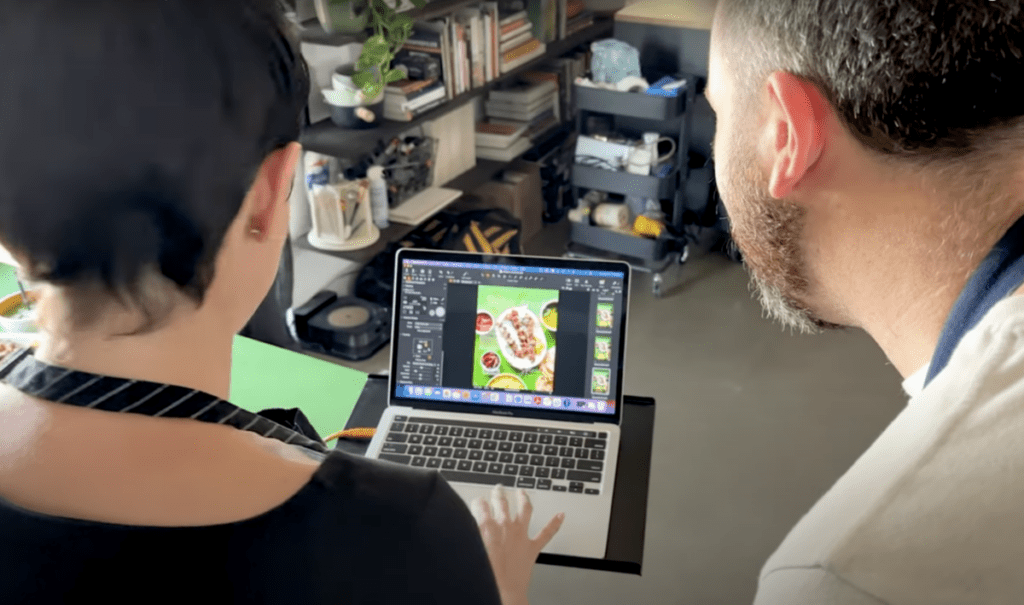
If you’re new to tethering, get more resources in my tethering video.
The Direction of the Light
Second, why did we compose the scene with the light entering the top of the frame? I have a personal preference in overhead shots for the light to enter from the top of the frame. I have tested lighting from the side and the bottom and just personally gravitate toward the light entering from the top.
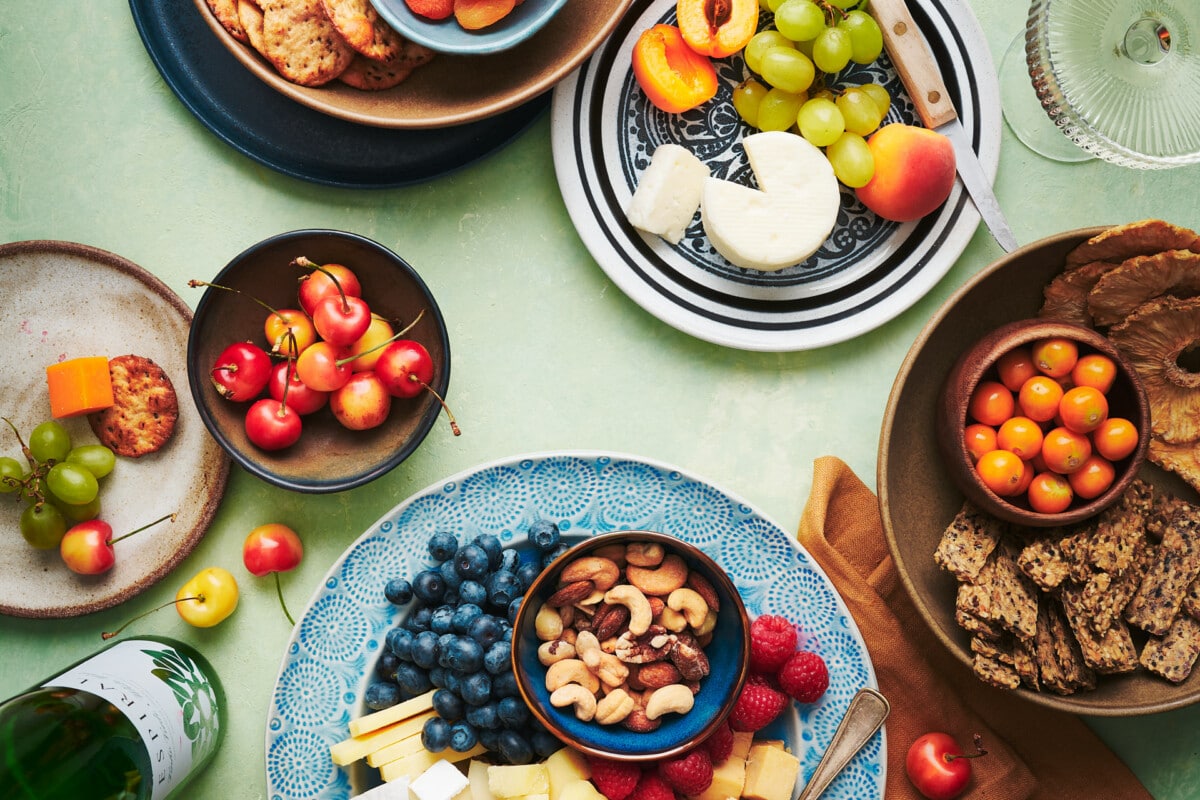
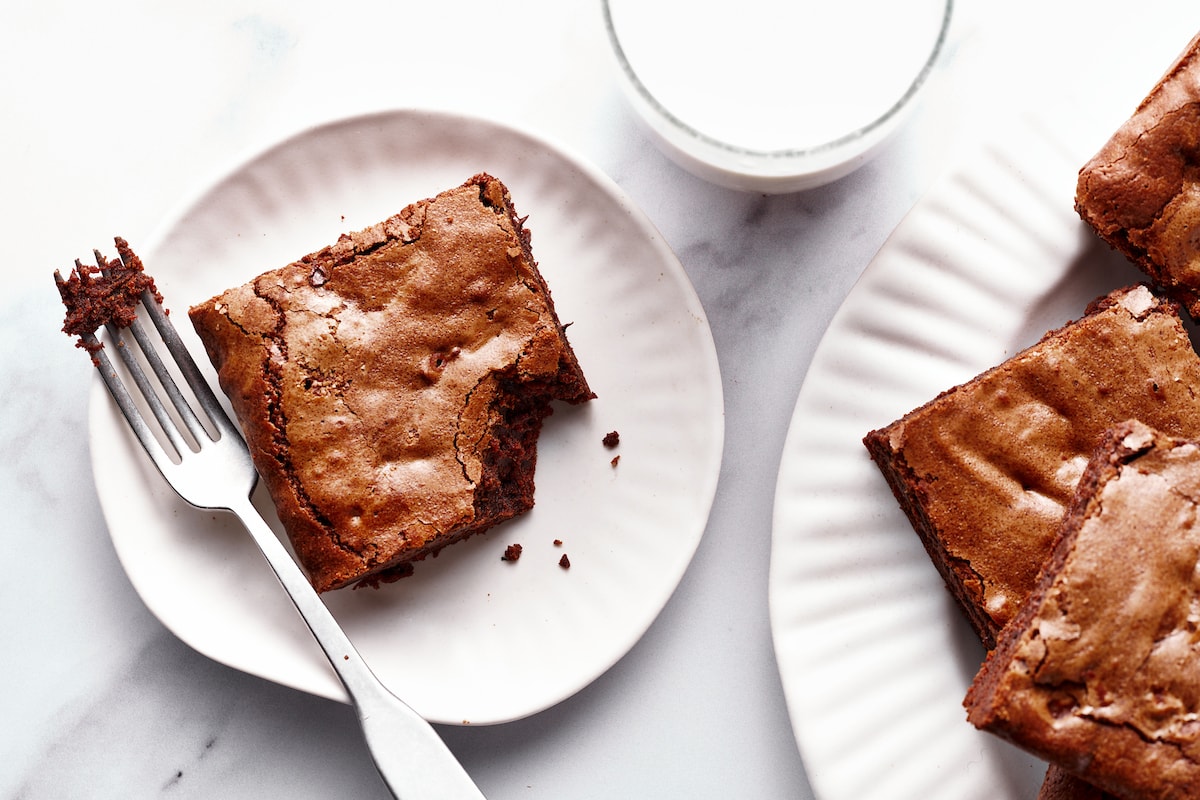
Psychologically, it also makes sense because if your viewer was looking at this scene in real life, their body would be at the bottom of the frame and thus creating a shadow at the bottom of the frame. Too, the window or light source would most likely be opposite of where the viewer is positioned.
However, I recommend you experiment with lighting top-down scenes with the light entering from different sides. There’s no one right way to light a top-down shot, so experiment and see if there’s a style that feels more appealing to you visually.
Blocking the Light
Third, what’s the black strip at the top of the scene?
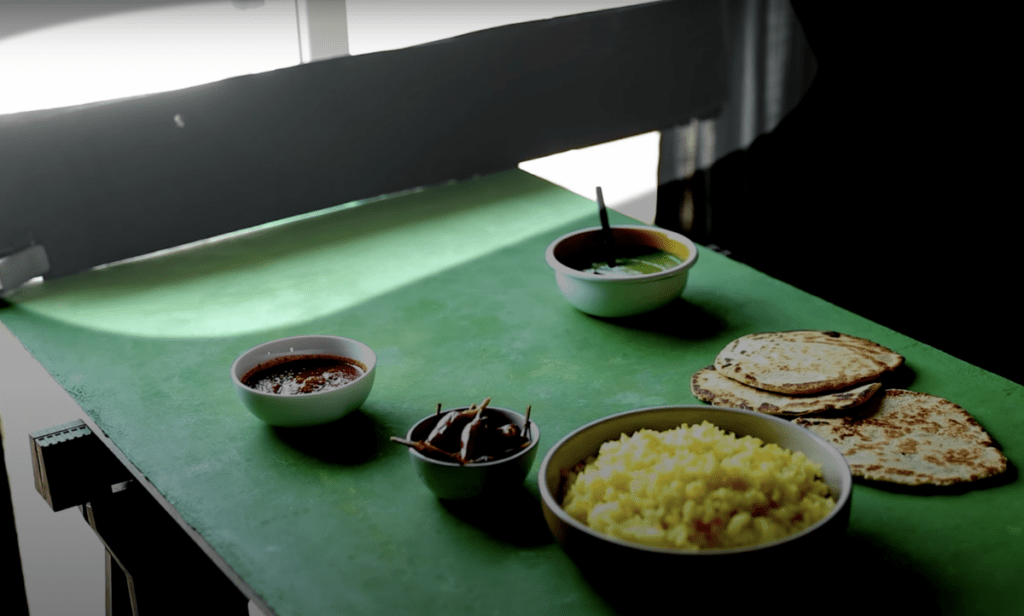
As I was looking at the scene I felt like it was just a little too bright toward the top of the frame and I wanted more even lighting across the surface.
Compositionally, the eye will be drawn to the brightest spot in an image. I want the viewer to be drawn into my primary subject first, so I wanted to bring down the brightness at the top of the frame so the subject would be the brightest spot.
Hit the Play Button to see the difference with and without the foam core.
I added a strip of black foam core held up with an A-clamp to get that effect. You can find large sheets of black foam core at the office supply store and cut them to the size you need. This is a size I often use to block the top of the frame so I use it frequently.
How: Camera, Lens and Settings
This image was shot with a Nikon Z7 camera and the Nikkor Z 24—70mm f2.8 S lens. Zoom lenses are a personal favorite for overhead shots because I can adjust the focal length (zoom in and zoom out) to fit the framing of the shot that I want. However, you don’t need a 24-70mm lens for a shot like this. I could have gotten similar results using a kit lens such as an 18-55mm lens because I ended up capturing this shot at 30mm.
If you’re not familiar with focal lengths and what the “mm” means, check out this helpful article.
As for settings, if you’ve followed my shooting in manual series, you know I start with Aperture. Shooting from the top-down perspective, I selected f9 in order to get a wide enough depth of field for the subjects and the surface to be in focus.
Next, I chose the shutter speed. I took it down to 1/30, but because I’m sometimes paranoid in natural light about camera shake, I didn’t want to go slower. So, then I relied on my ISO at 1000. This camera, like many modern cameras made within the last few years, has good ISO performance. That setting on my camera wasn’t contributing excessive grain to the image.
The finishing touches on the scene were to dab a little extra oil on the kabobs to yield some shine and an extra swirl of the green sauce to show off its texture.
A big ‘thank you’ to Brendan for the beautiful food! We hope this shoot inspires you to try something outside your standard routine.


